System Backup and Restore Process
In the event of logical data corruption or human error, it is possible to recover the wallet state by restoring it to a previously verified and error-free configuration using a backup. If the database is restored within the same environment, there is no need to make any changes to the Encrypt Master Password secrets. However, if the restoration is performed in a different environment, it is important to update the secrets to align with the ones in place when the backup was created.
Note:These Encryptor Master Password secrets are necessary for decrypting the sensitive encrypted data stored in the database.
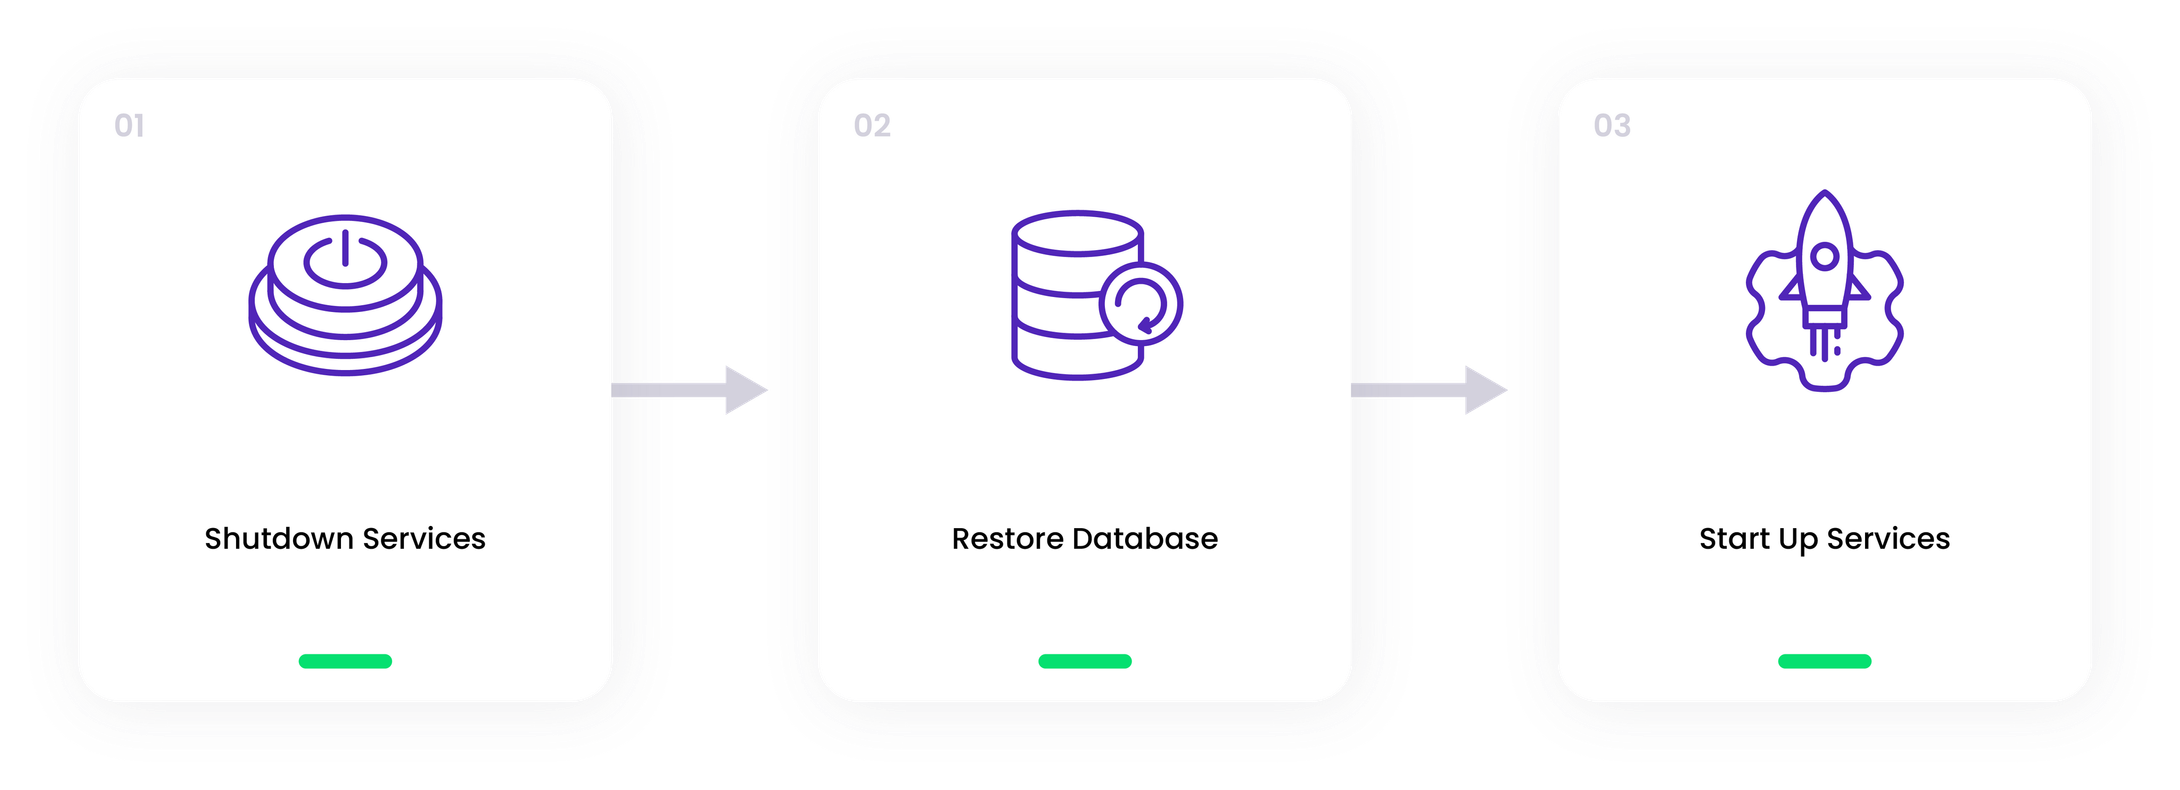
Step 1: Shutdown Services
In order to ensure a smooth database restore process without any potential inconsistencies, it is crucial to shut down and keep the wallet services offline temporarily. The sequence for shutting down these services should be followed as outlined below:
- Stop the "approval-service".
- Next, halt the "wallet" service.
- Afterwards, suspend the "policy-node0," "policy-node1," and "policy-node2" services.
- Proceed to suspend the "orchestrator" service.
- Finally, shut down the "mosquitto" service.
Step 2: Restore Database
There are two different scenarios for restoring a wallet database.
In-place Restore
When conducting an in-place restore, it is important to wipe the existing database clean to ensure that the current database contents are completely overwritten. For instance, if you are using pg_dump for a PostgresDB, you can utilize the pg_restore command with the --clean switch, as shown in the example below:
pg_restore --dbname="postgres" --host <hostname> --port "5432" --username "postgres" --clean <pg_dump-backup-file>Redirected Restore
In the case of a redirected restore, where you are restoring the database to a different target database appliance or instance, such as with a managed cloud SQL service, it is crucial to update the following wallet services with the new database connection string:
- approval-service
- orchestrator
- policy-node0, policy-node1, policy-node2
- wallet
If you've deployed the wallet using AWS or Azure's automated deployment tools, you should make sure to modify the value of the DB_HOST key within the database configuration secrets to match the updated connection string. The names of the database secrets that need this update are provided below:
| Secret service | Secret location |
|---|---|
| Approval service | <environment.name>.<namespace>.approval-service.db-info |
| Orchestrator | <environment.name>.<namespace>.orchestrator.db-info |
| Policy-node0 | <environment.name>.<namespace>.policy-node0.db-info |
| Policy-node1 | <environment.name>.<namespace>.policy-node1.db-info |
| Policy-node2 | <environment.name>.<namespace>.policy-node2.db-info |
| Wallet | <environment.name>.<namespace>.wallet.db-info |
Step 3: Start-Up Services
Following the restoration process, it's important to bring the wallet services back online in this order:
- Start with "mosquitto".
- Proceed with "orchestrator".
- Then, resume the "policy-node0", "policy-node1", and "policy-node2" services.
- Bring the "wallet" service back up.
- Finally, start the "approval-service"
Warning:After restoring the wallet to the backup's point in time, any transaction history beyond that point will be lost. However, account balances will automatically update to reflect their on-chain values due to any account activity, including both incoming and outgoing transfers.
🗣️We Are Here to Help!
Please contact us via email or support chat if you encounter an issue, bug, or need assistance. Don't forget to include any relevant details about the problem. To request a wallet form and Institutional Vault Approver form, please click here or contact our sales team.
Updated about 1 month ago