Create, Sign and Broadcast Transactions (Updated)
🌨️ Find out how to do a transaction with Cold Wallet.
Overview
A cold (offline) wallet follows a secure process for signing and sending transactions. A transaction is first created using the hot (online) wallet and then signed offline using a secure key. The signed transaction is sent back to the hot wallet for verification and broadcast. This keeps sensitive keys offline, lowering the risk of unauthorized access and helping meet security rules.
In this example, the cold wallet uses two separate MPC nodes, each providing part of the signature. These nodes are stored in two different air-gapped cold wallets for extra protection. The hot wallet, which is accessible on-site, works with these cold wallets. Even if one cold wallet device is compromised, a transaction still can’t be fully signed.
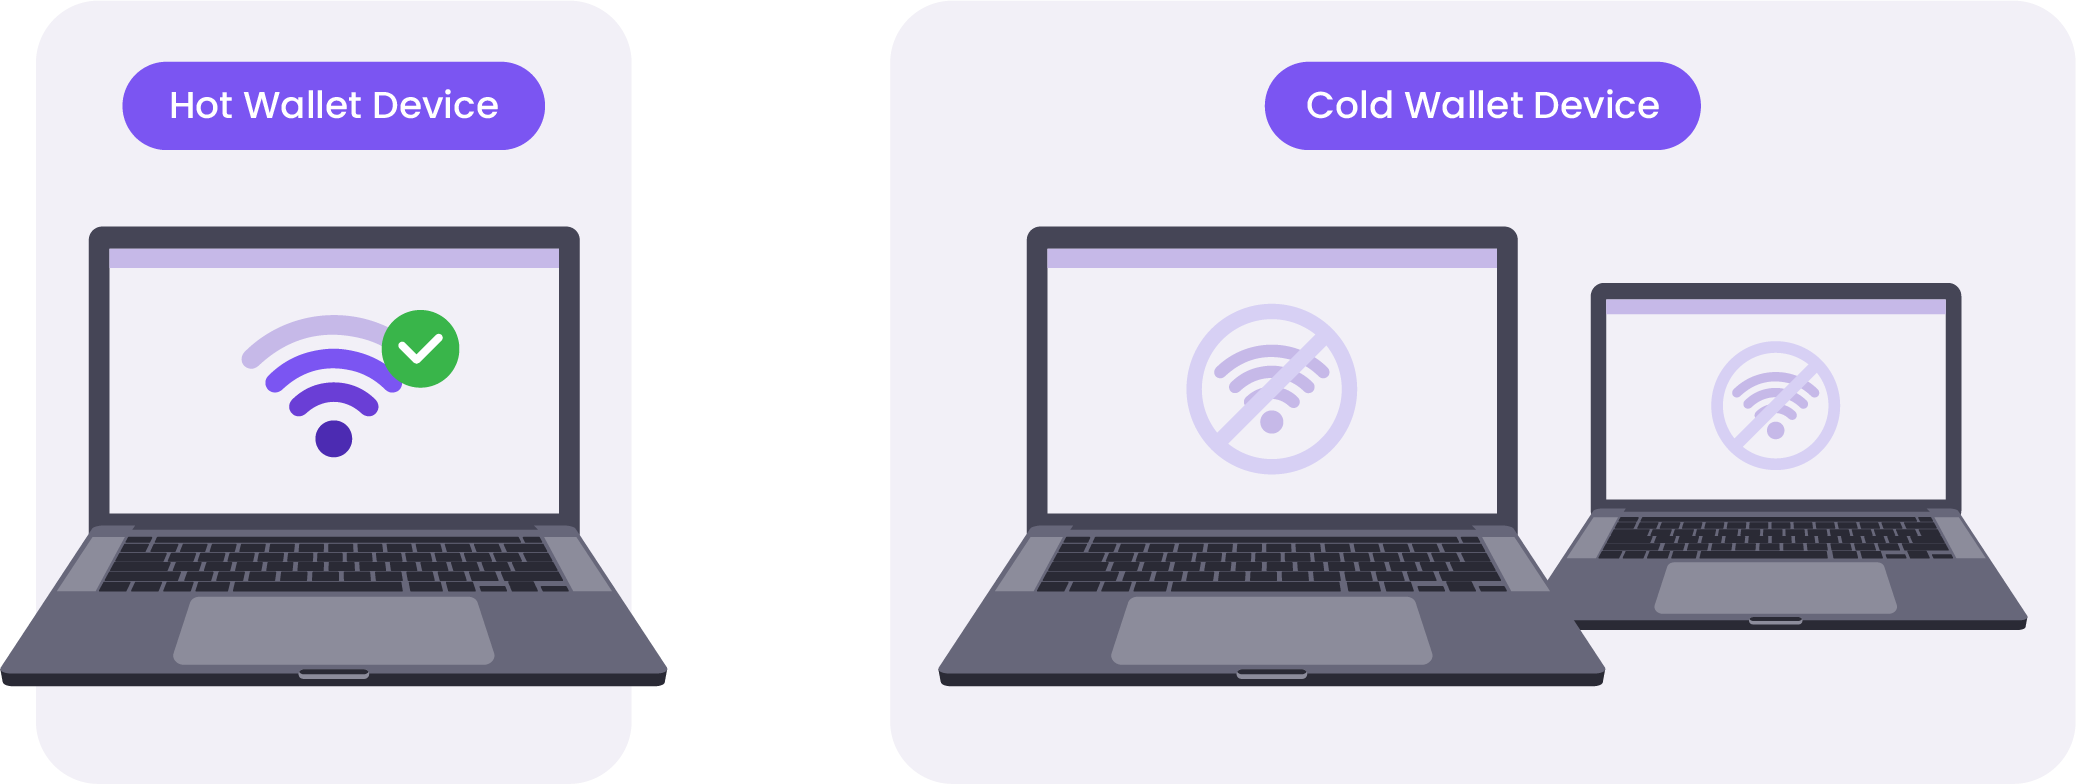
Note:Remember that Hot (online) wallets and Cold (offline) wallets are separate entities.
Transacting with a Cold Wallet
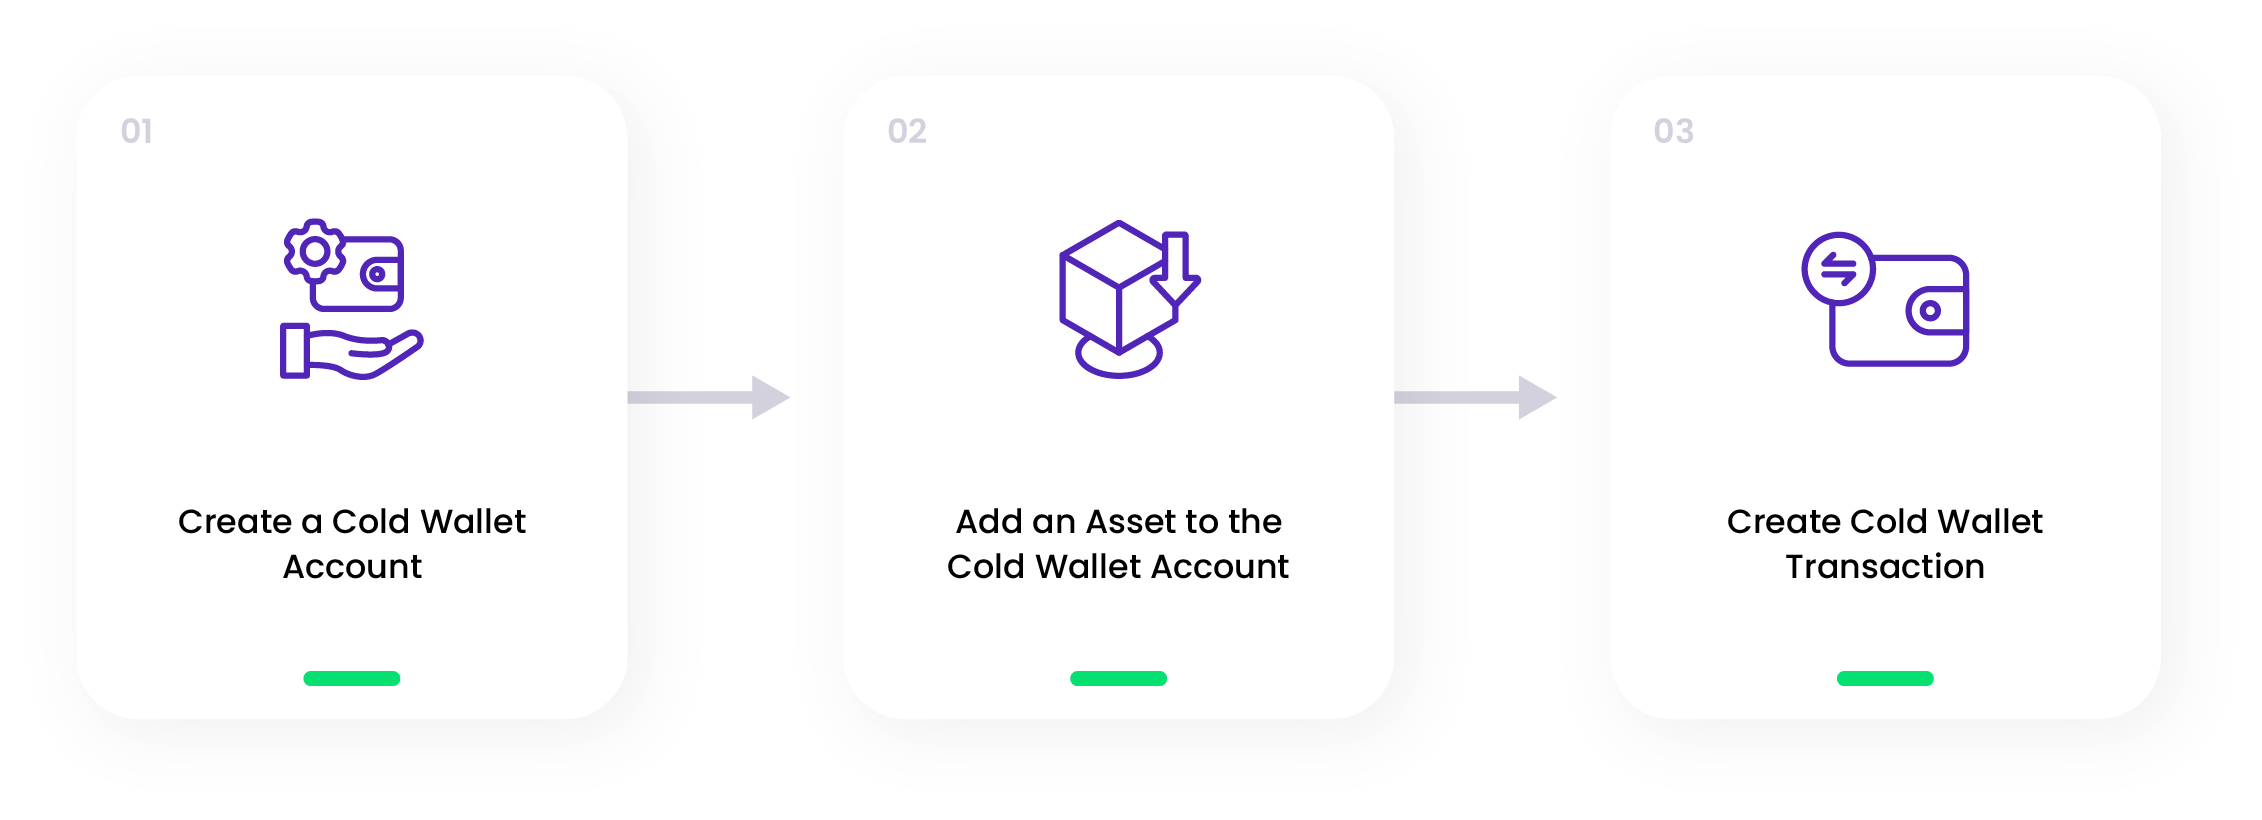
Follow the steps below to create a transaction with the Cold wallet:
Note:To create a transaction in a Cold wallet, ensure you have paired the hot and cold wallet. If not, follow the steps here to pair both wallets.
Step 1: Create a Cold Wallet Account
- Navigate to the Accounts page, and click New Account.
- Enter the Account Name and click the Cold Account button switch.
- Click Create.
Step 2: Add an Asset to the Cold Wallet Account
- Click the newly created cold wallet account.
- Click Add Asset.
- Select the Asset you want to add and click Add Crypto.
Step 3: Create Cold Wallet Transaction
- Click the Transfer Funds button.
- Click the Cold Signing tab.
- Select the asset you want to transfer and Select the Cold wallet account in the Source Account section.
- Click Transfer.
- Click the Export Batch button to download the Transaction batch file.
- Save the file on a trusted USB stick.
Note:It is possible to export multiple transactions at once.
- The status of the transactions changed to Pending Signature.
- Back to the air-gapped cold wallets to sign the transaction.
Note:Signing transactions for cold wallets does not have to be performed simultaneously in both cold wallets.
- Plug the USB into the cold wallet device.
- Navigate to the Transactions page.
- Click Import.
- Select the batch file.
- Click Upload.
- Click Sign and Sign again to sign the transaction.
- Once signed, click Export to download the partial signature.
- Repeat the steps above for the second cold wallet device.
- Save the partial signature files on a trusted USB stick.
- Back to the hot wallet to upload the partial signature files.
- On the cold signing tab on the Transactions page click the Accept Batch button.
- Upload both partial signature files.
Note:There is no order to upload which files first from the cold wallets.
- When you navigate back to the Transactions History tab, the cold wallet transaction status changes from Pending Signature to Broadcasting to Completed.
🗣️We Are Here to Help!
Please contact us via email or support chat if you encounter an issue, bug, or need assistance. Don't forget to include any relevant details about the problem. To request a wallet form and Institutional Vault Approver form, please click here or contact our sales team.
Updated about 1 month ago