How to Deploy a Node
Running your own node allows you to access transaction data, blockchain history, and more.
Blockdaemon’s Dedicated Nodes allow you to deploy and manage a node for your chosen blockchain protocol. You can set up a dedicated node with full control over the configuration, including network, node type, and hosting provider.
This guide will take you step-by-step through the process of launching your own dedicated node on Blockdaemon.
InfoYou won’t be charged until the very last step, so you’re free to cancel at any point before that without incurring any cost.
- Sign in to the Blockdaemon Web App.
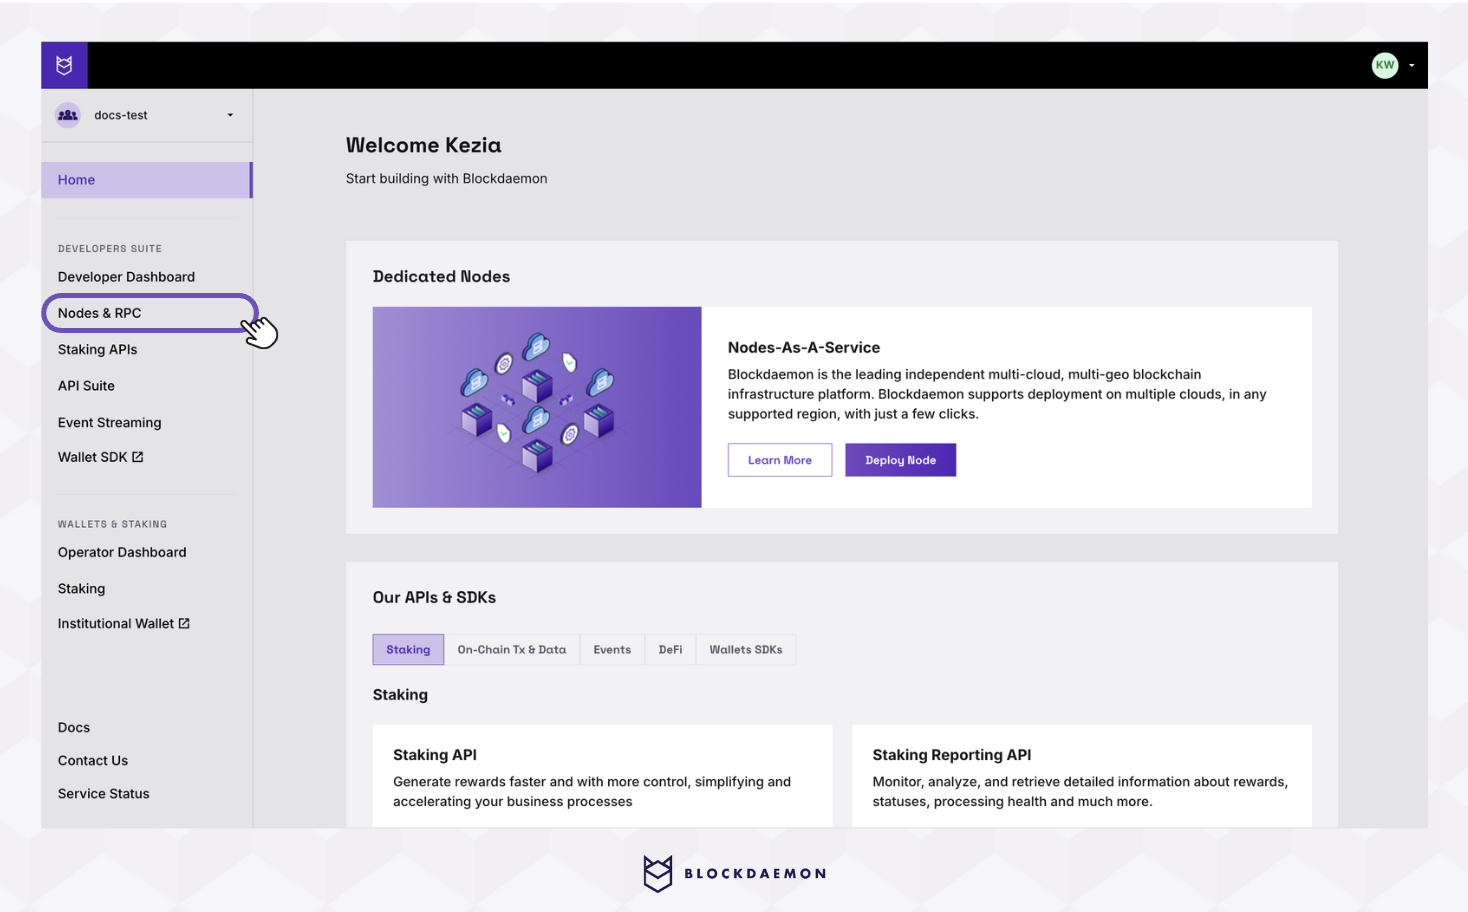
- After logging in, select Nodes & RPC from the sidebar menu.
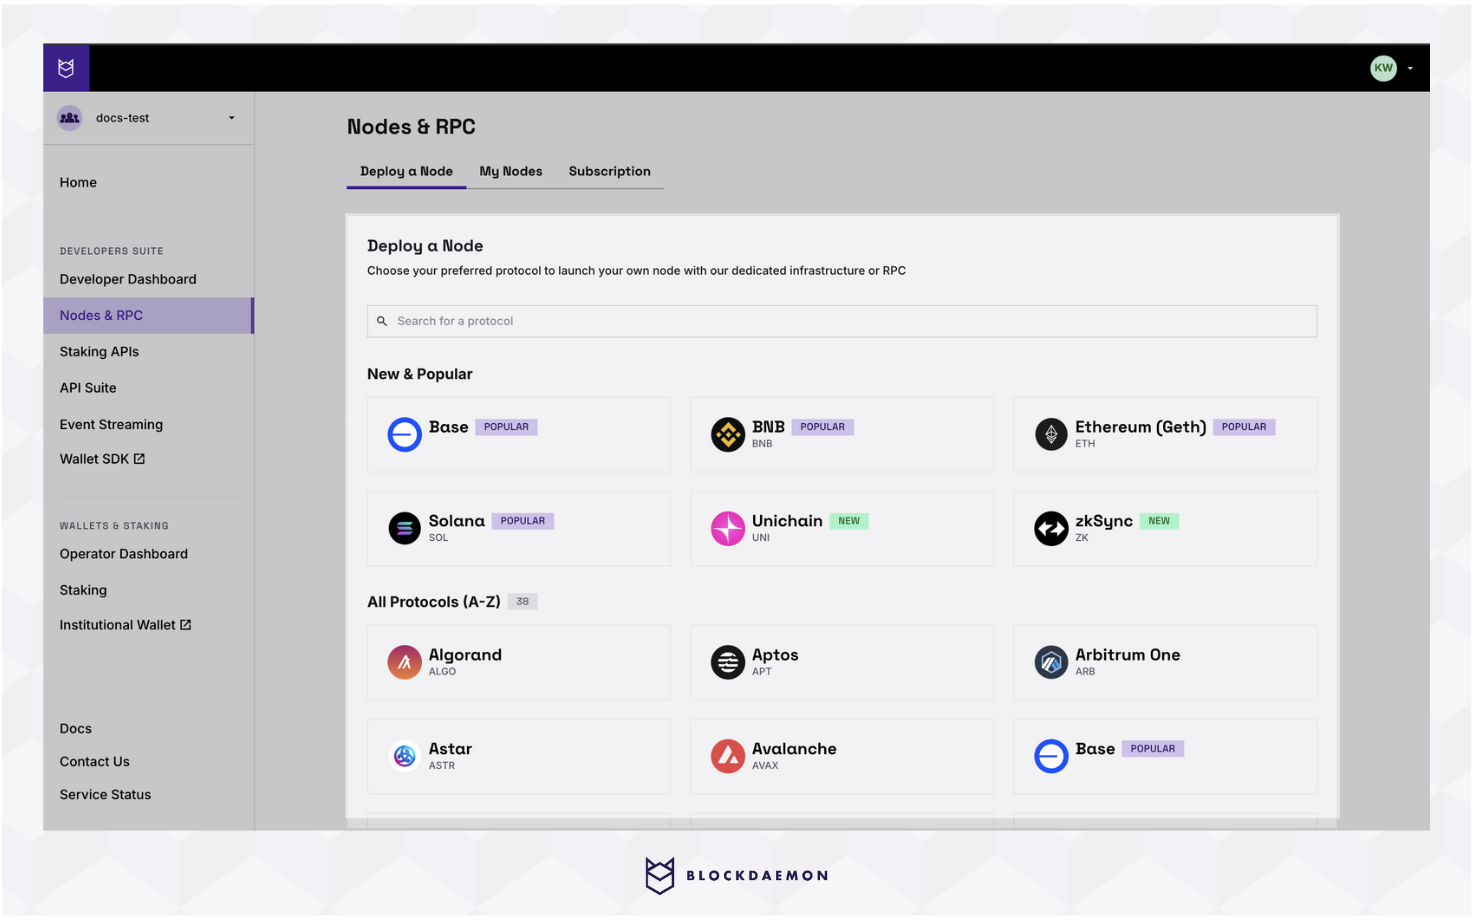
- In the Deploy a Node tab, search for and select the protocol.
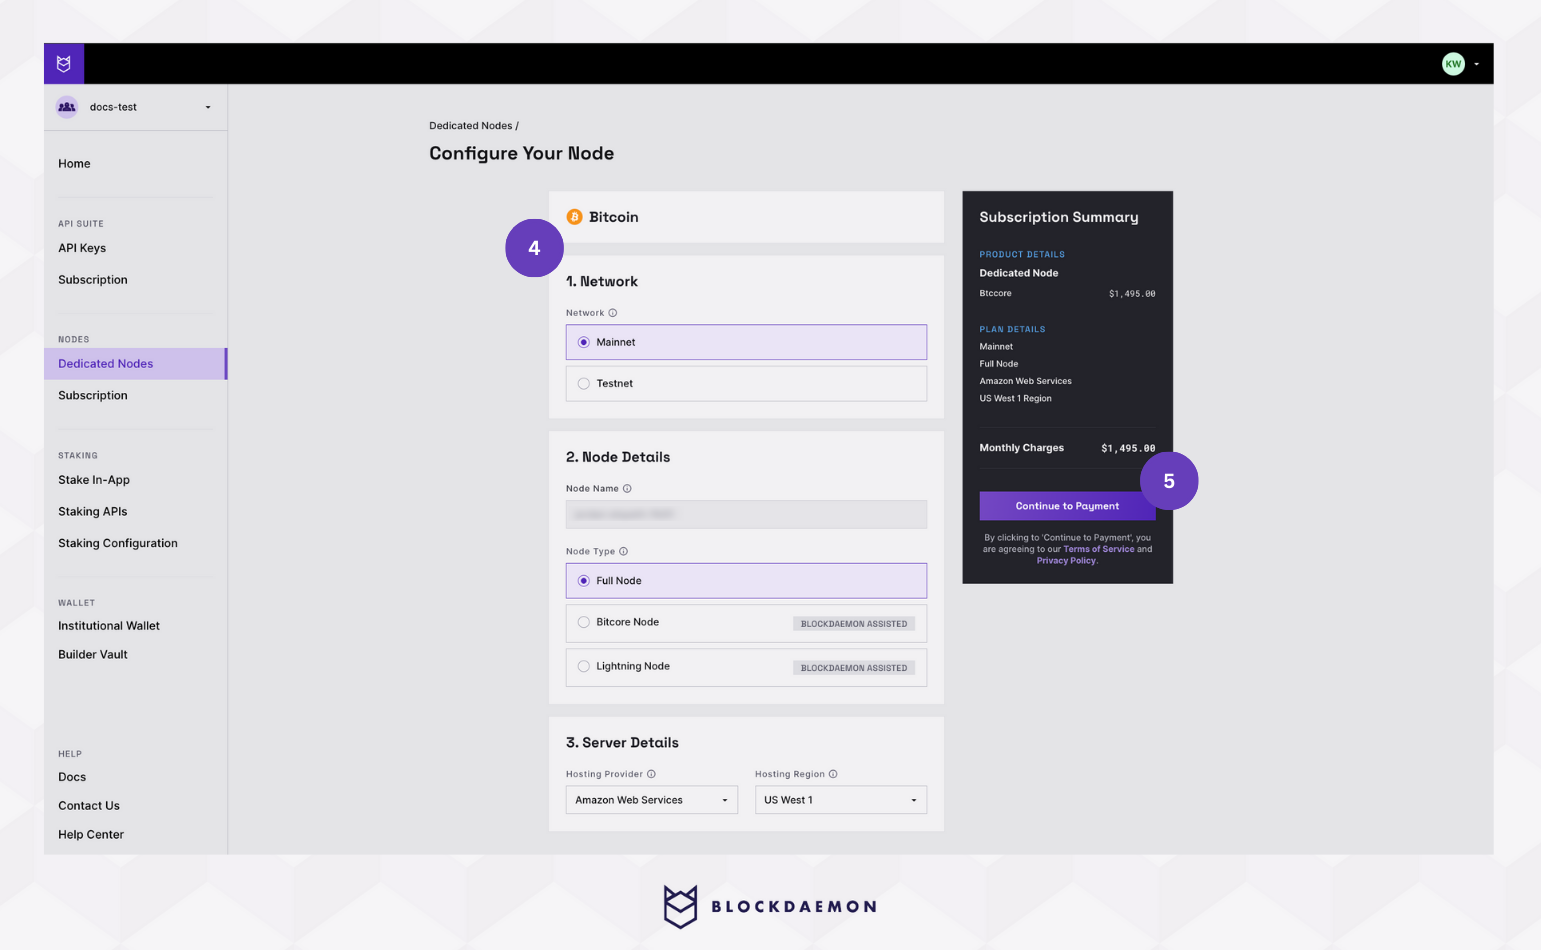
- This will take you to the Configure Your Node page. Here, you can configure your nodes from the following configuration options:
- Network: The network environment on which to deploy the node
- Node Name: A unique Blockdaemon node identifier displayed within the blockdaemon platform.
❗️ We don't allow config changes to node name❗️ - Node Type: Blockdaemon-provided node type. You can deploy some nodes directly (self-service), while others require assistance from Blockdaemon's CSM and protocol engineers (white-glove service)
- Server Details: The hosting provider and data center where your node will be hosted
- To continue:
- Select Continue to Payment for a self-service deployment
- Select Request Node for a Blockdaemon-assisted deployment
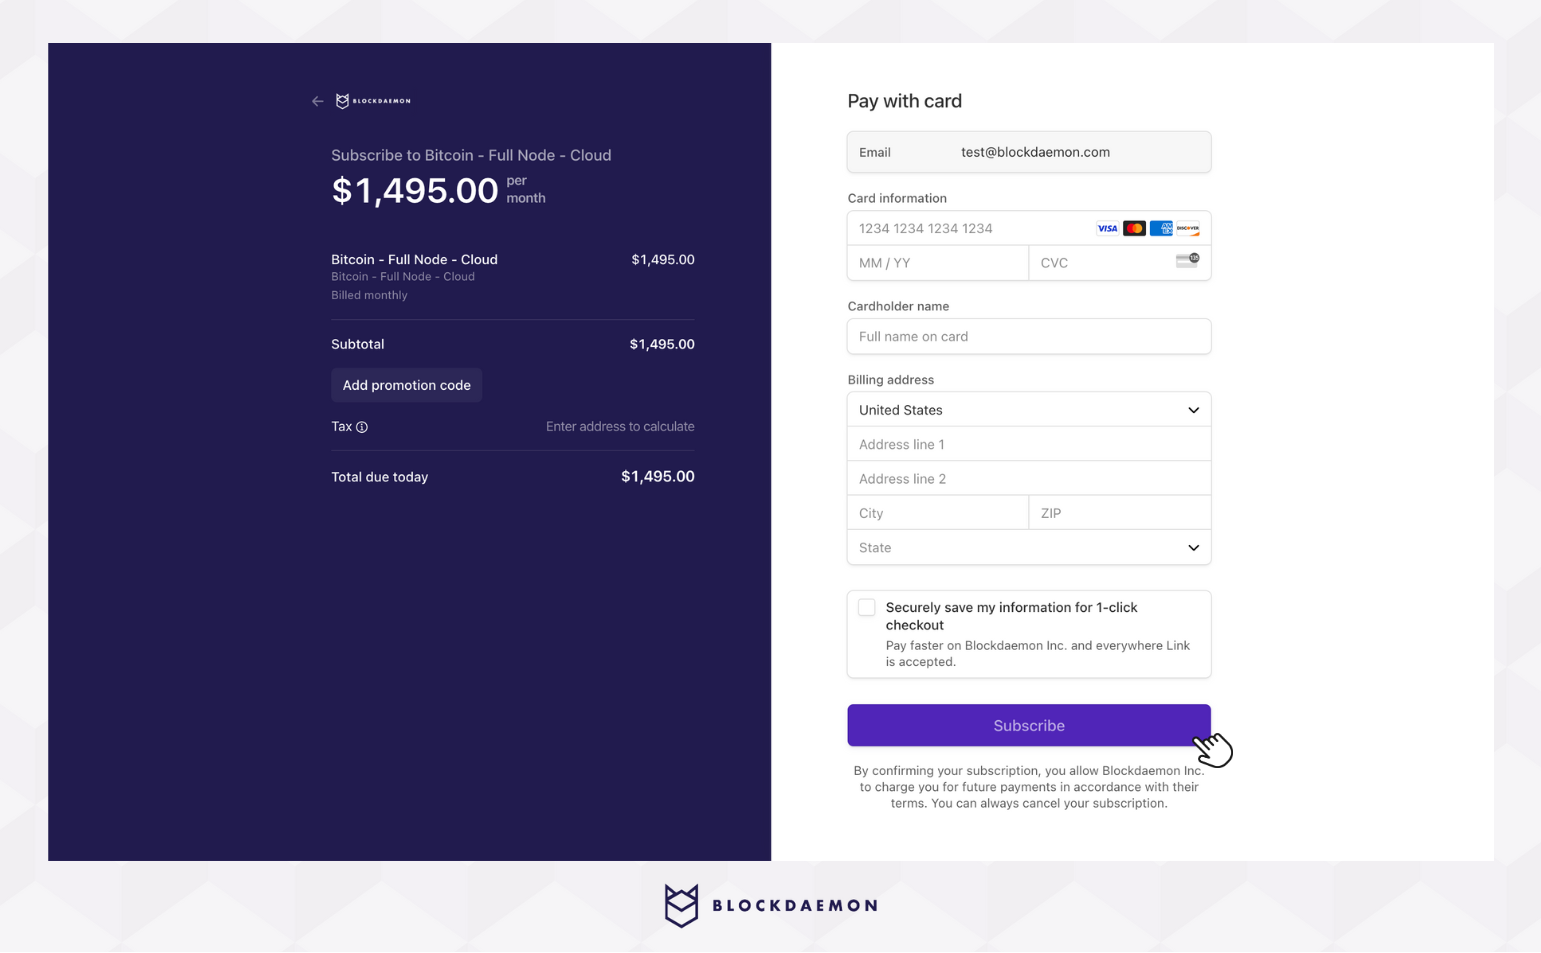
- Review your details. Select Subscribe to pay and launch your node.
InfoIf you have a promotional code, now is the time to enter it.
- You’ll be redirected to the node detail page. Here, you’ll see "Your node is syncing", along with a progress bar showing your node’s block height as it syncs with the blockchain.
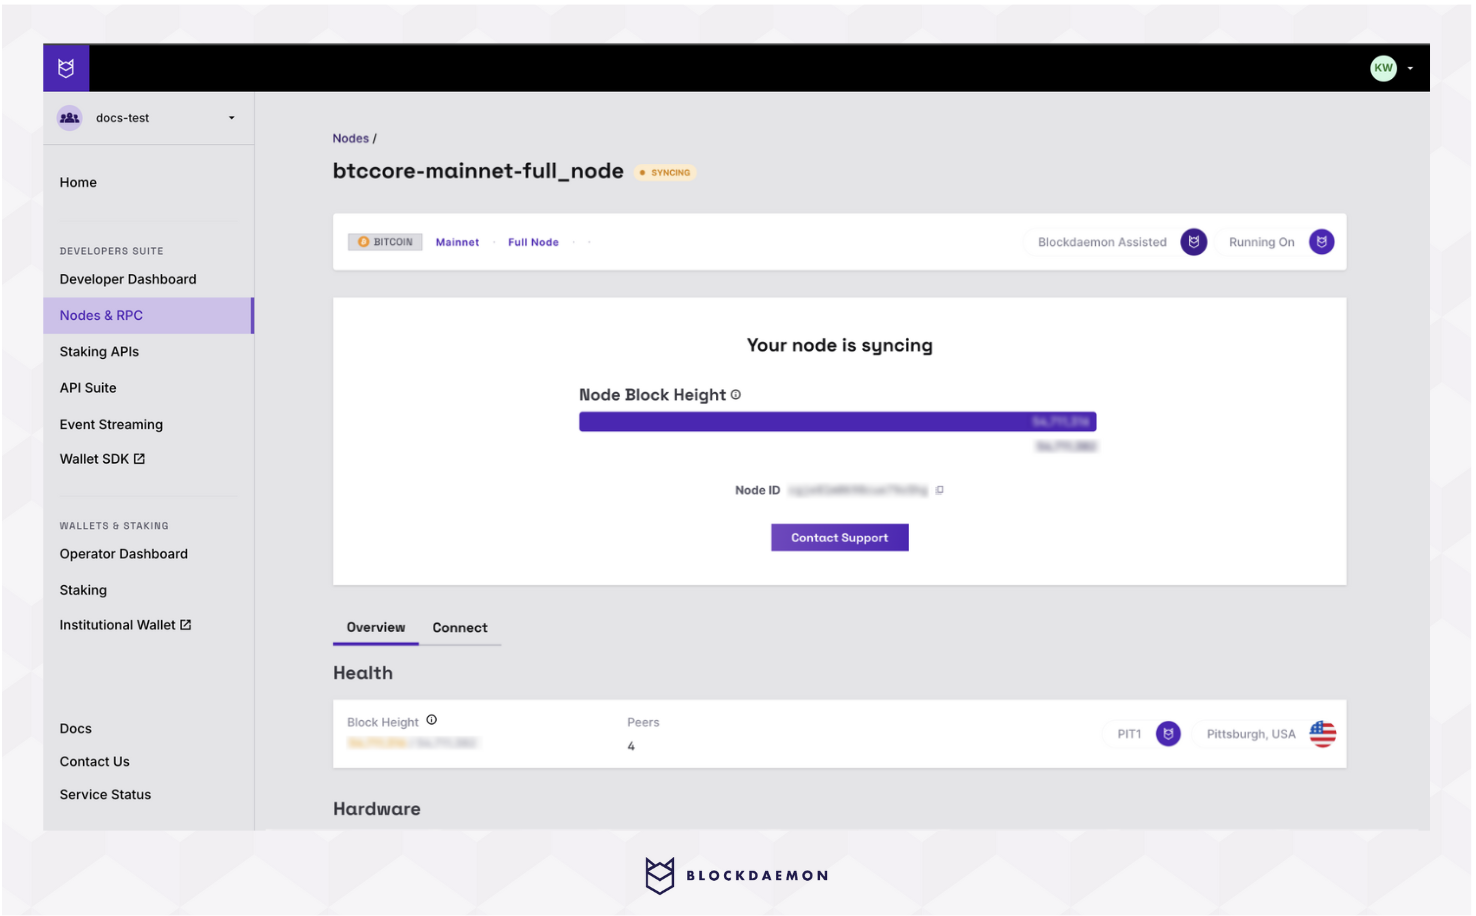
NoteSynchronization time varies per protocol. If you’re concerned it is taking too long, contact support for assistance.
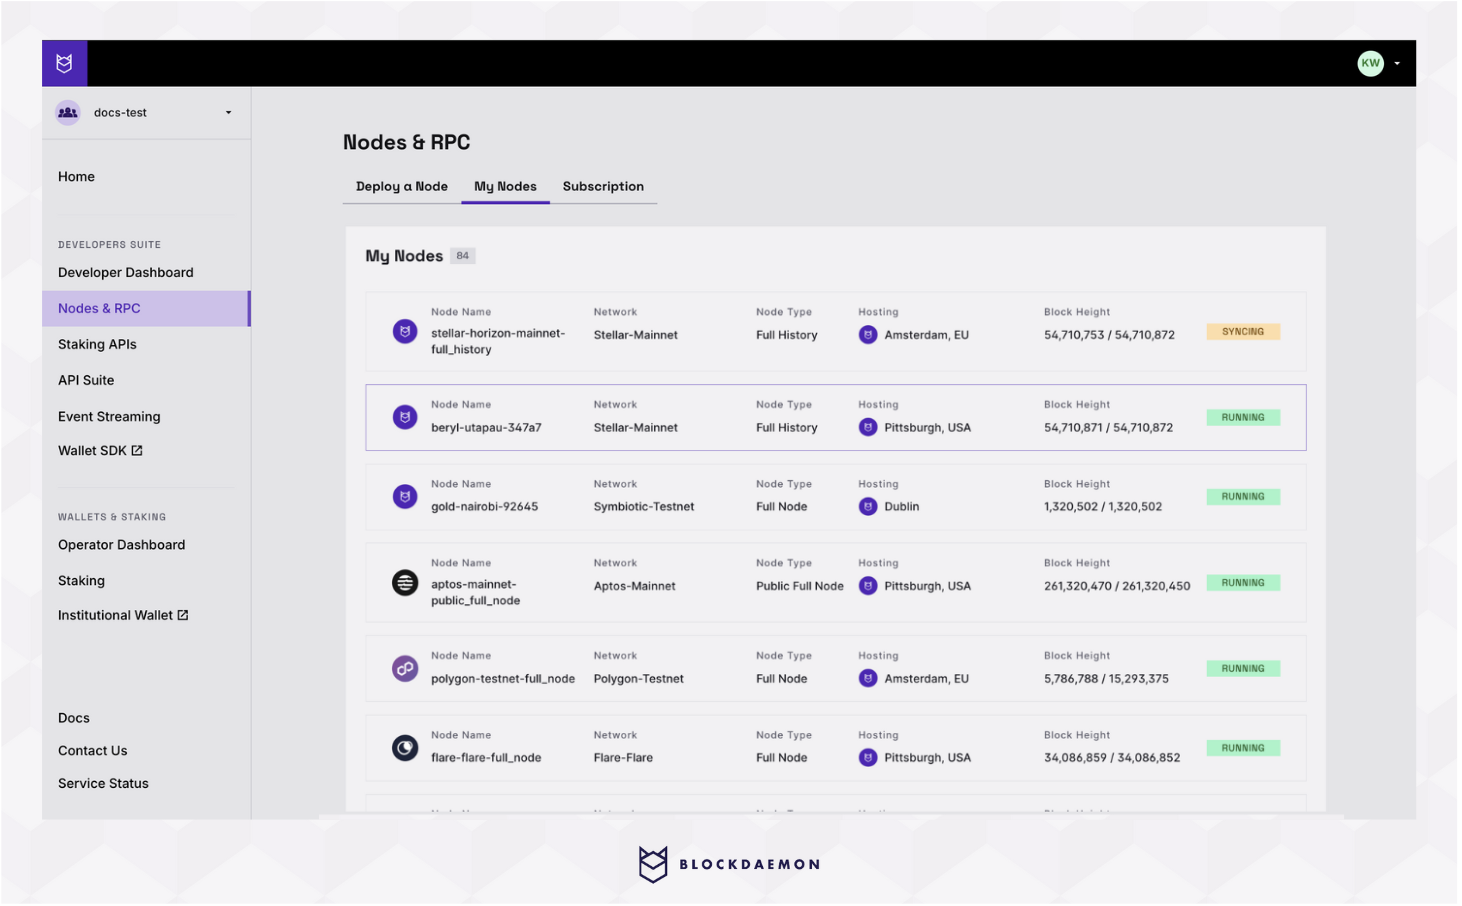
- Go to the My Nodes tab to view your launched nodes and check their status.
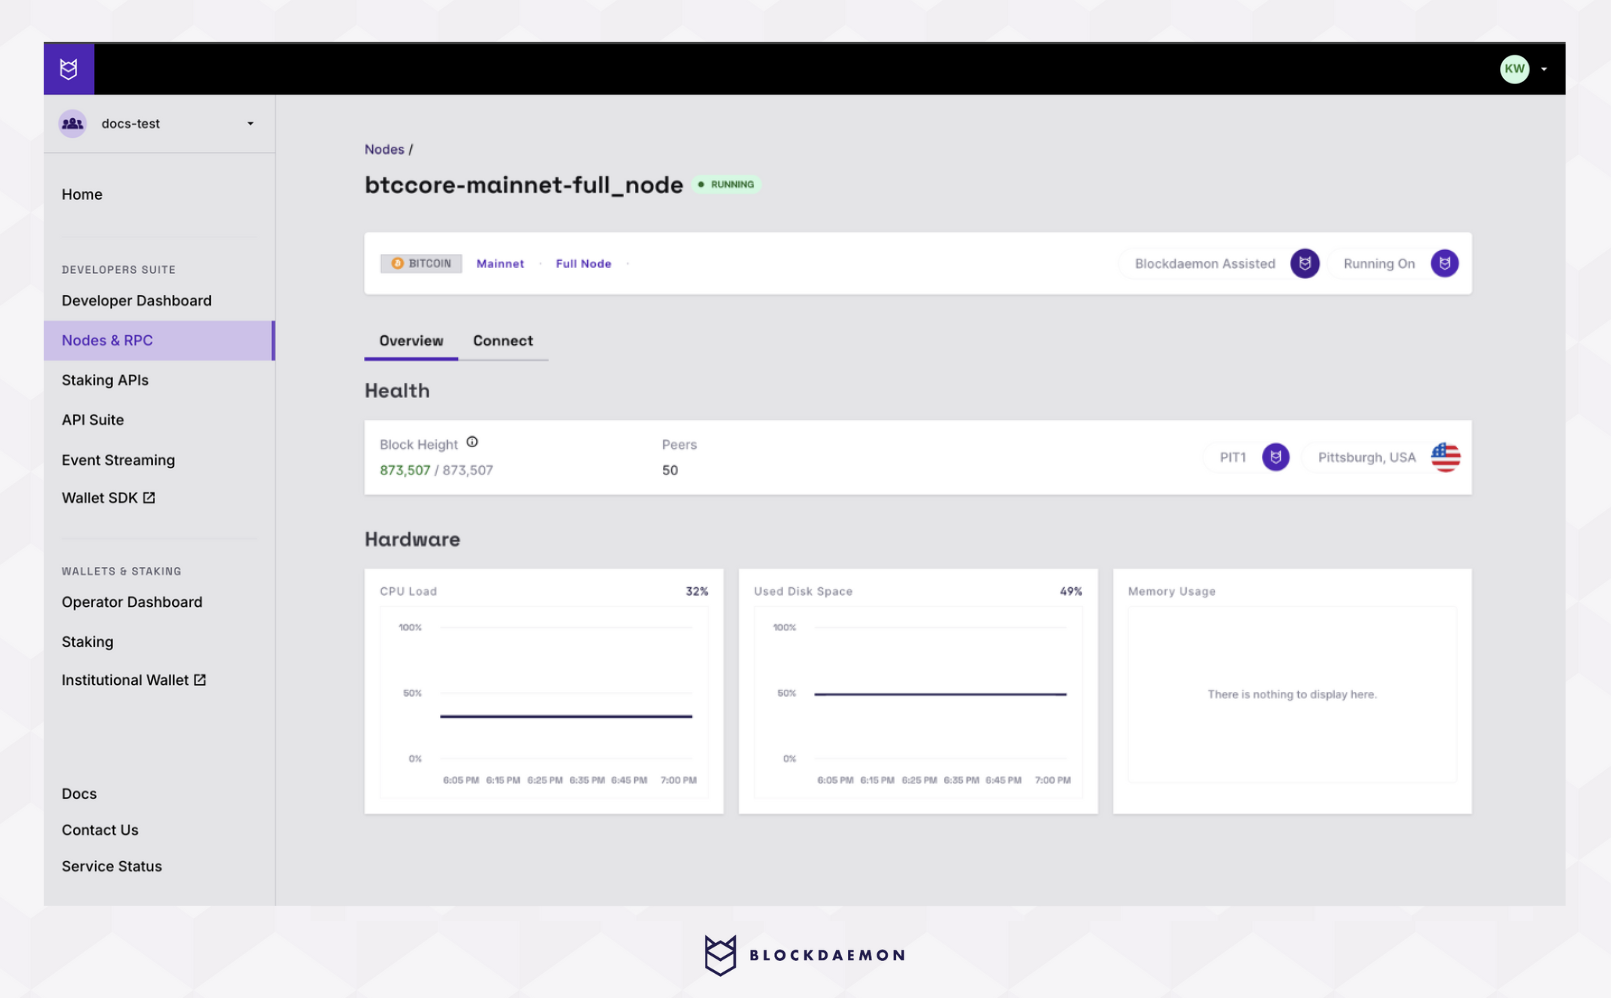
- On the node detail page, you’ll see:
- Connection Information: Copy your endpoint, review the documentation, and generate a code snippet based on your connection type.
- Monitoring & Hosting Info: Includes block height, peers, and hardware details like CPU load, disk space usage, and memory usage.
👋 Need Help?
Contact us through email or our support page for any issues, bugs, or assistance you may need.
Updated 6 months ago