Receive Funds
🤑 Learn how to receive funds within your Institutional Vault
Overview
To receive funds, a user must possess an account within the Institutional Vault. An Institutional Vault Account serves as a feature that segregates wallet addresses. For balance-based chains like Ethereum, each account is associated with a unique address. For UTXO-based chains like Bitcoin, an account can contain multiple addresses. Accounts can be further restricted by policies. It plays a vital role in securely storing and managing digital assets, facilitating the sending and receiving of digital assets, tracking balances, and providing access to transaction history.
To secure your assets within the Institutional Vault, generating addresses to which assets can be directed is essential. Within the Institutional Vault, assets are grouped inside accounts, permitting the configuration of transaction policies that apply to various assets based on their associated account. Whenever an asset is added to an account, a corresponding address is generated. The option to include additional addresses is available for assets following the UTXO (Unspent Transaction Output) model.
Warning:Ensure that all potentially receivable assets are enabled on your wallet's account. If they are not, you will be unable to spend or use them within the wallet.
How to Receive Funds
You can receive funds through the online wallet’s menu by following the steps below:
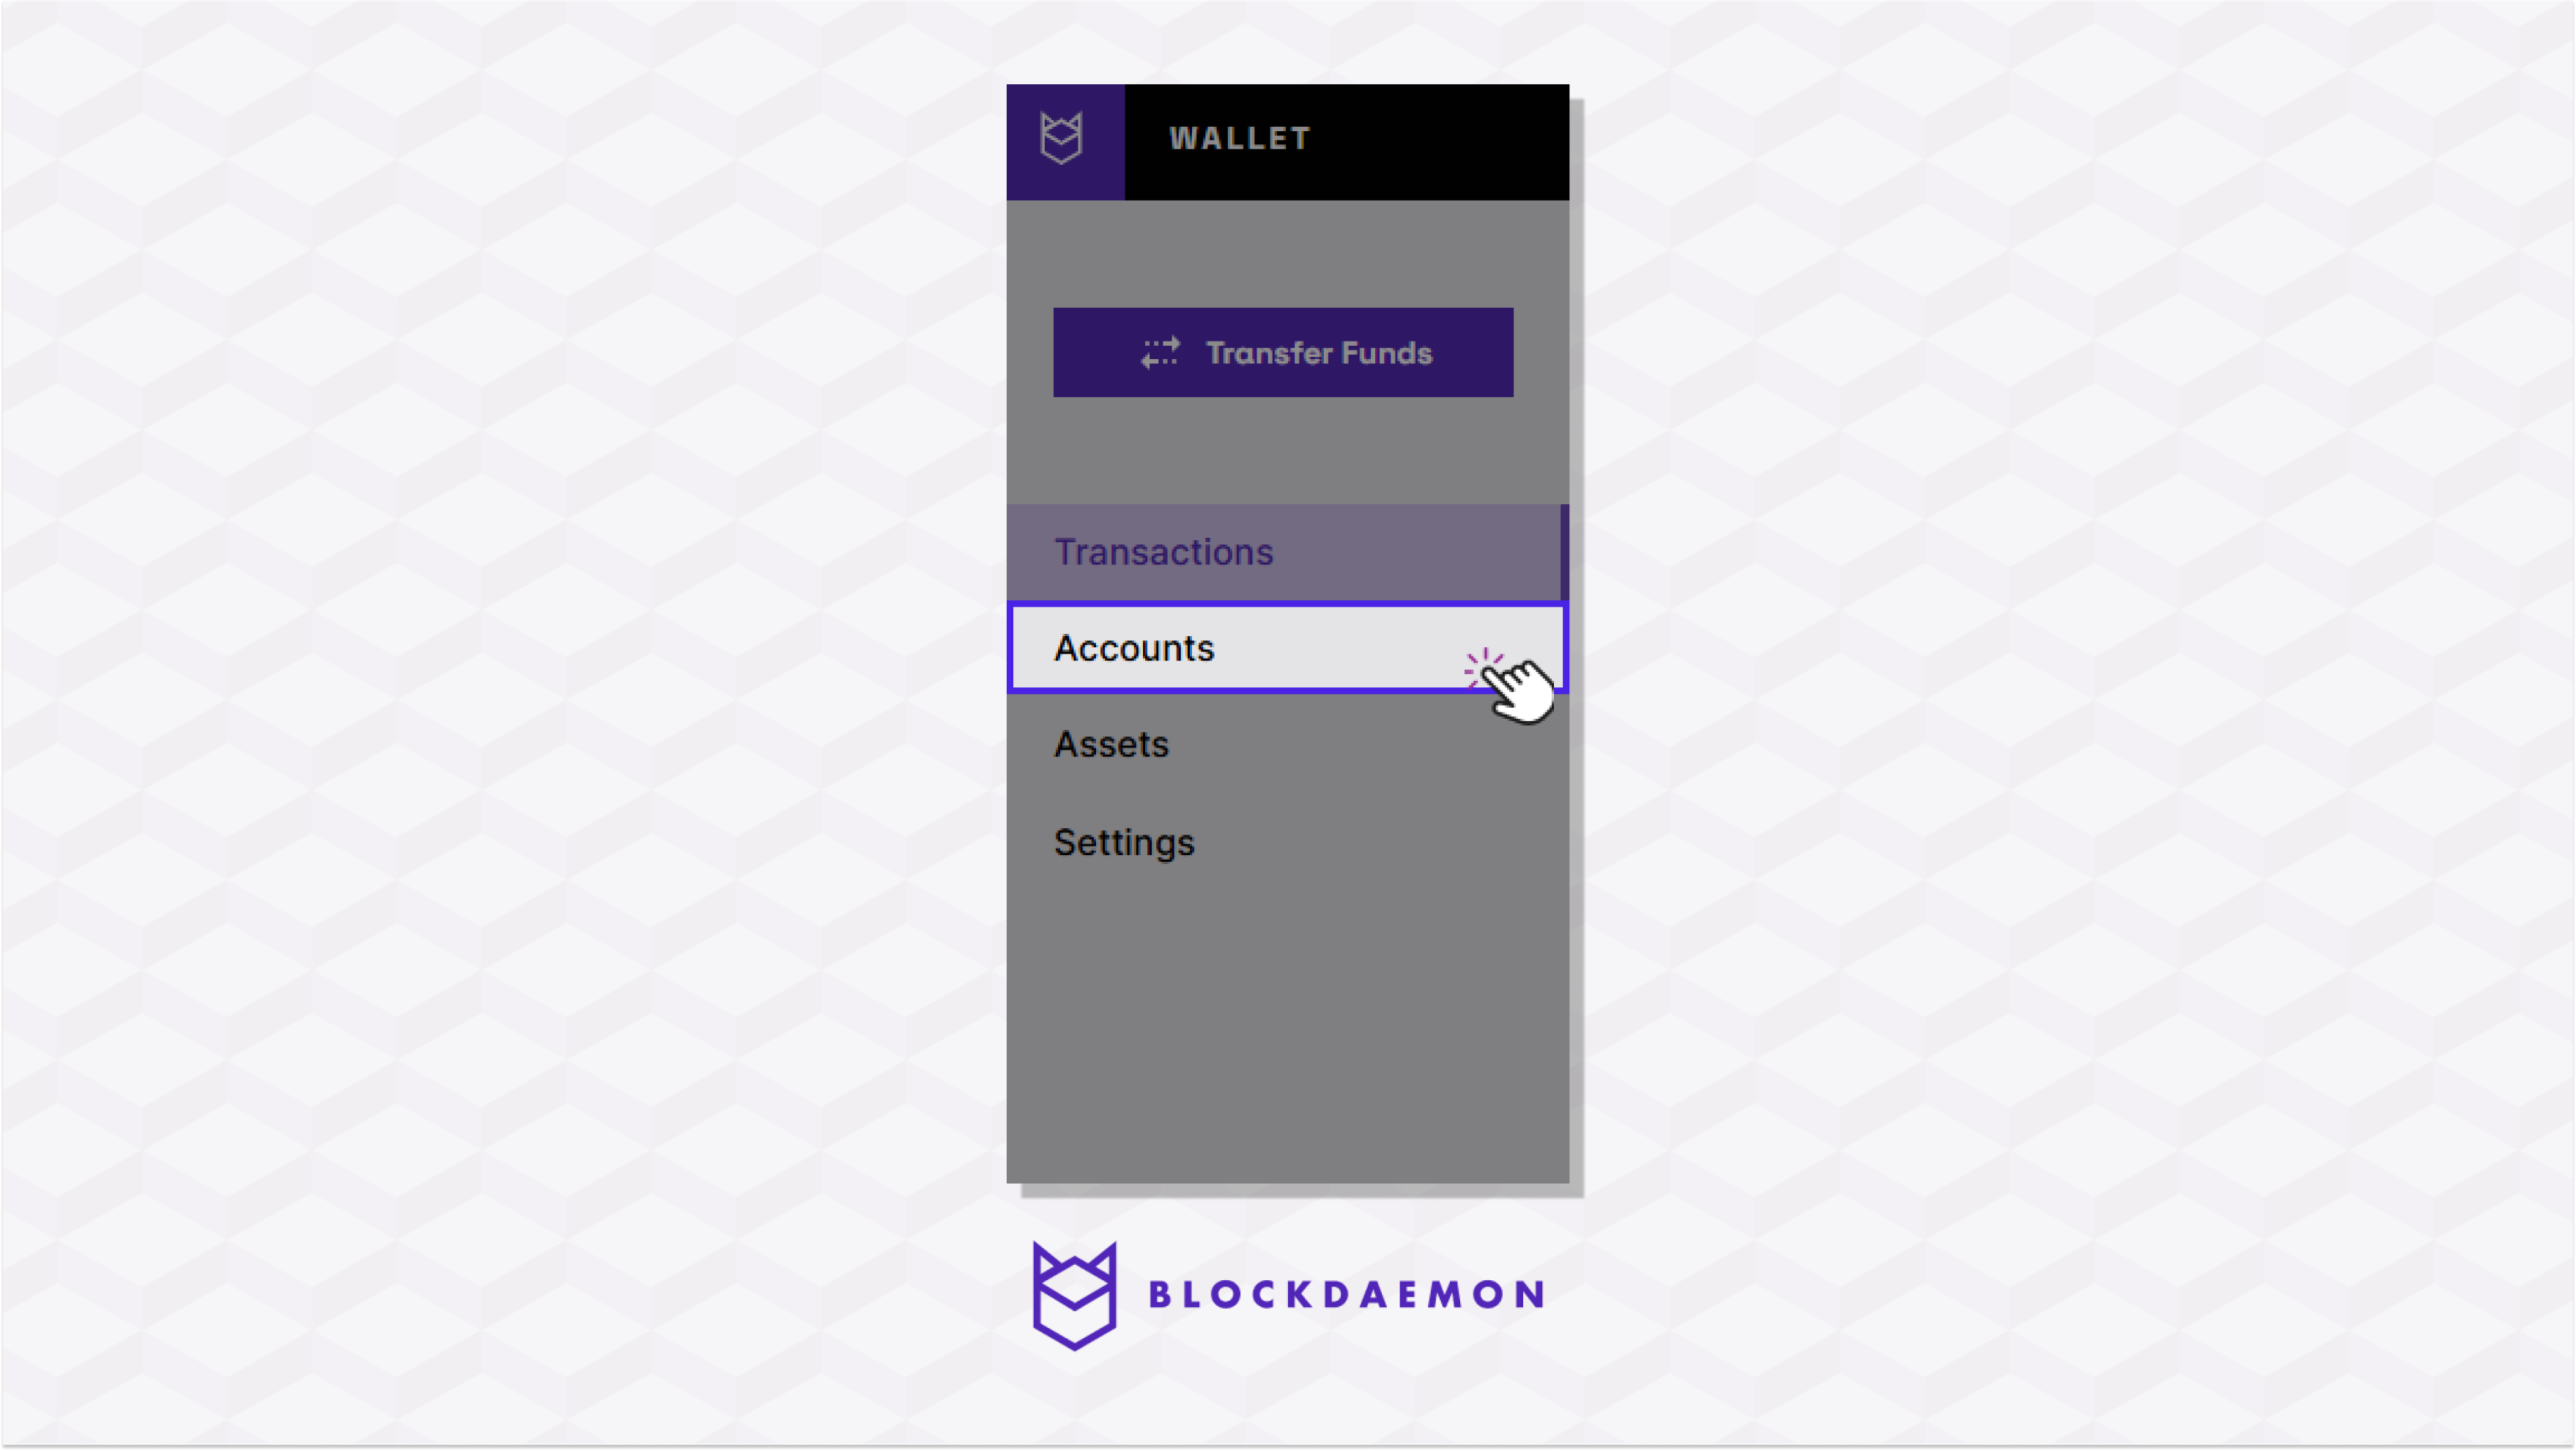
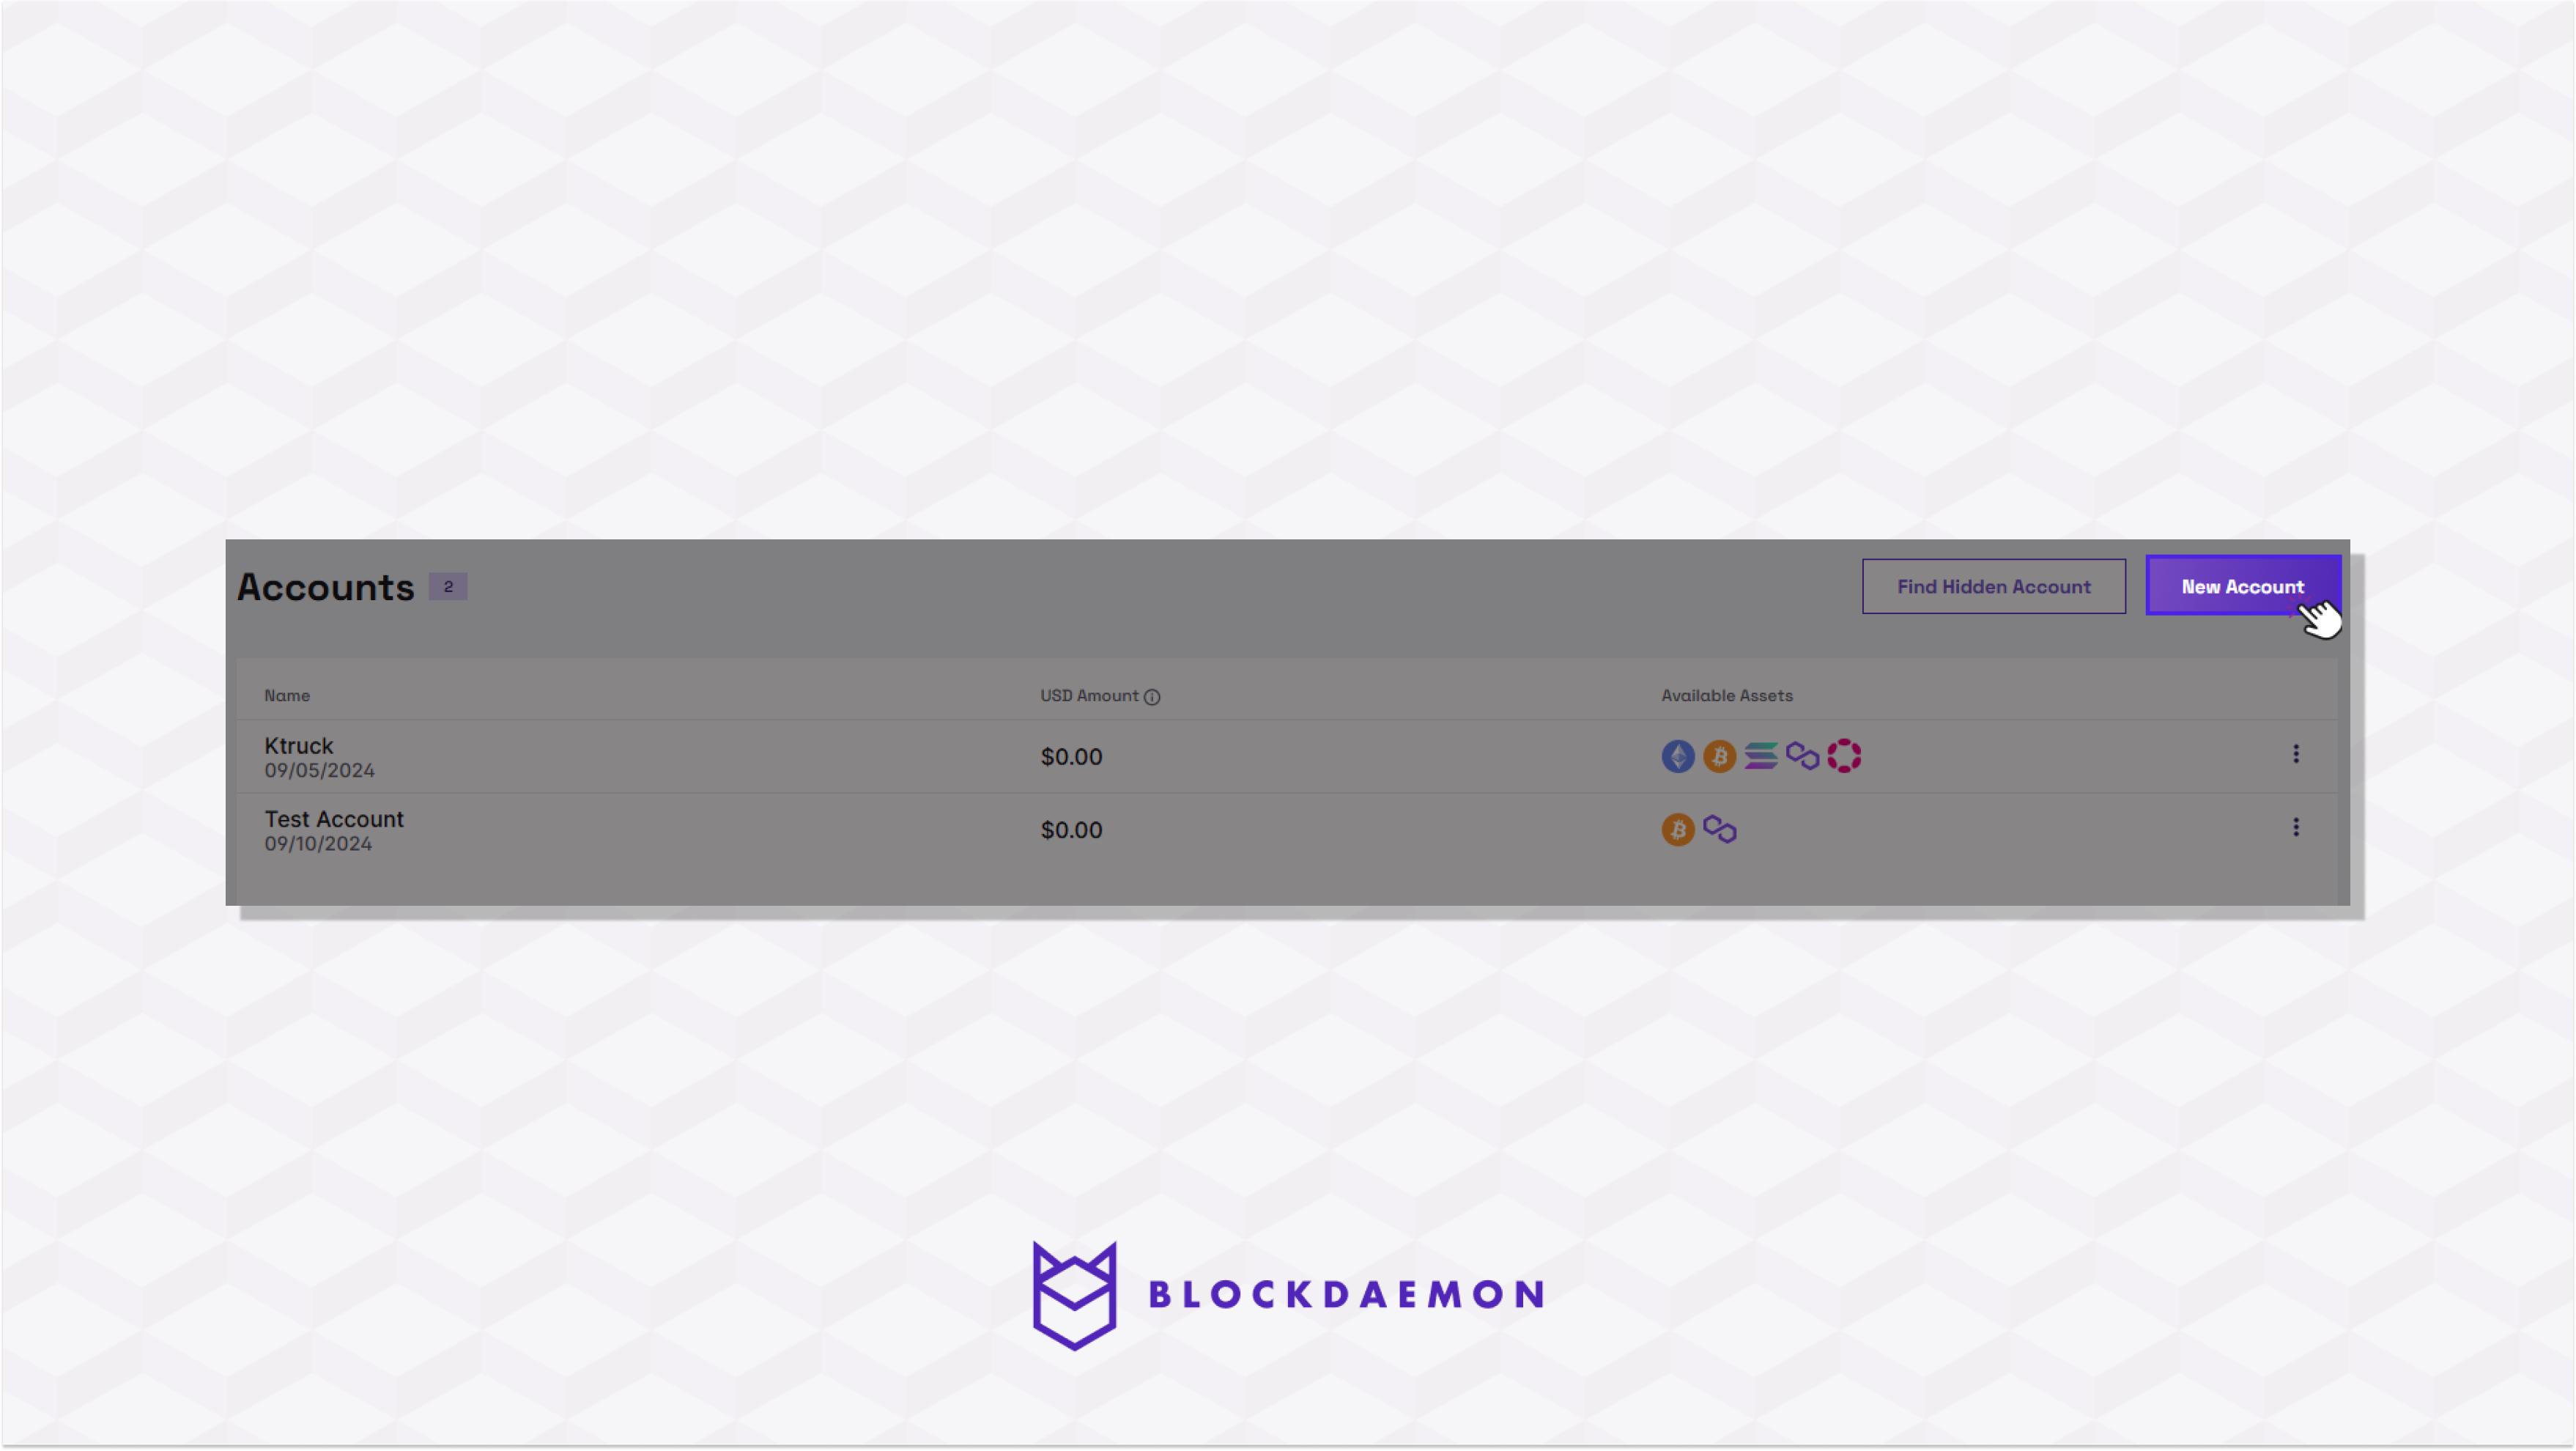
- Click on the Accounts menu.
- Click the New Account button.
- Enter the name of the account.
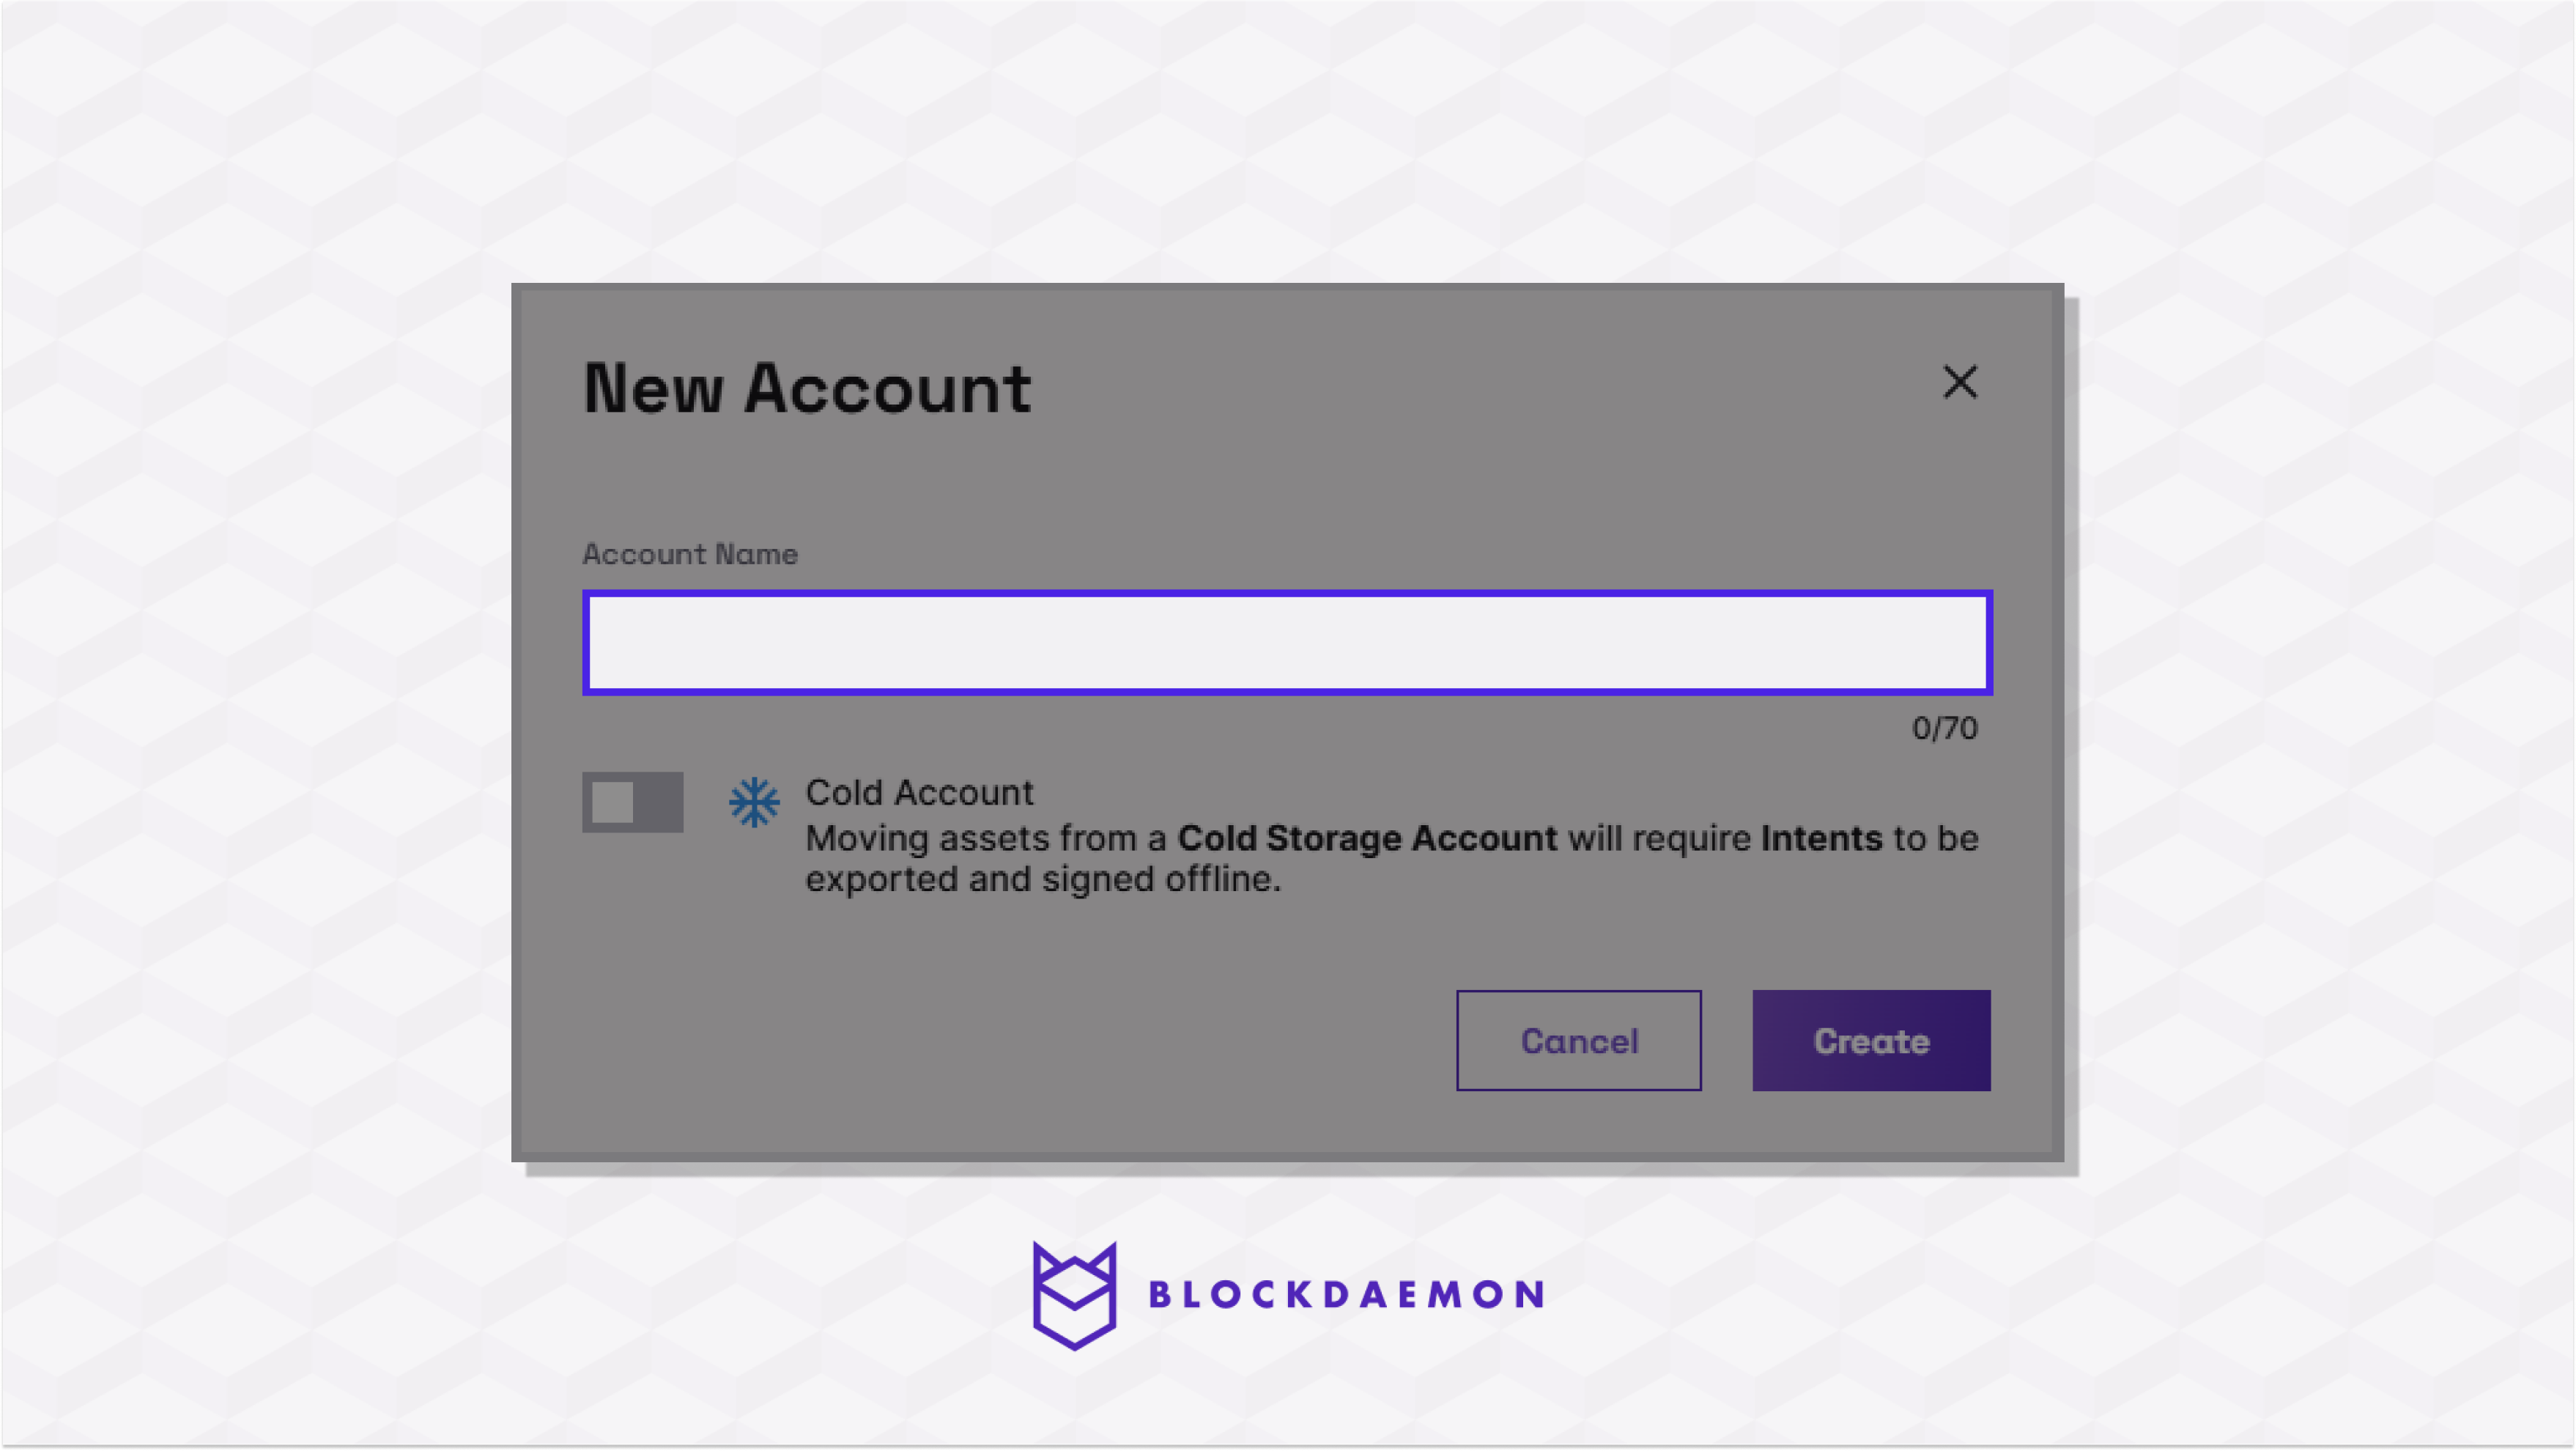
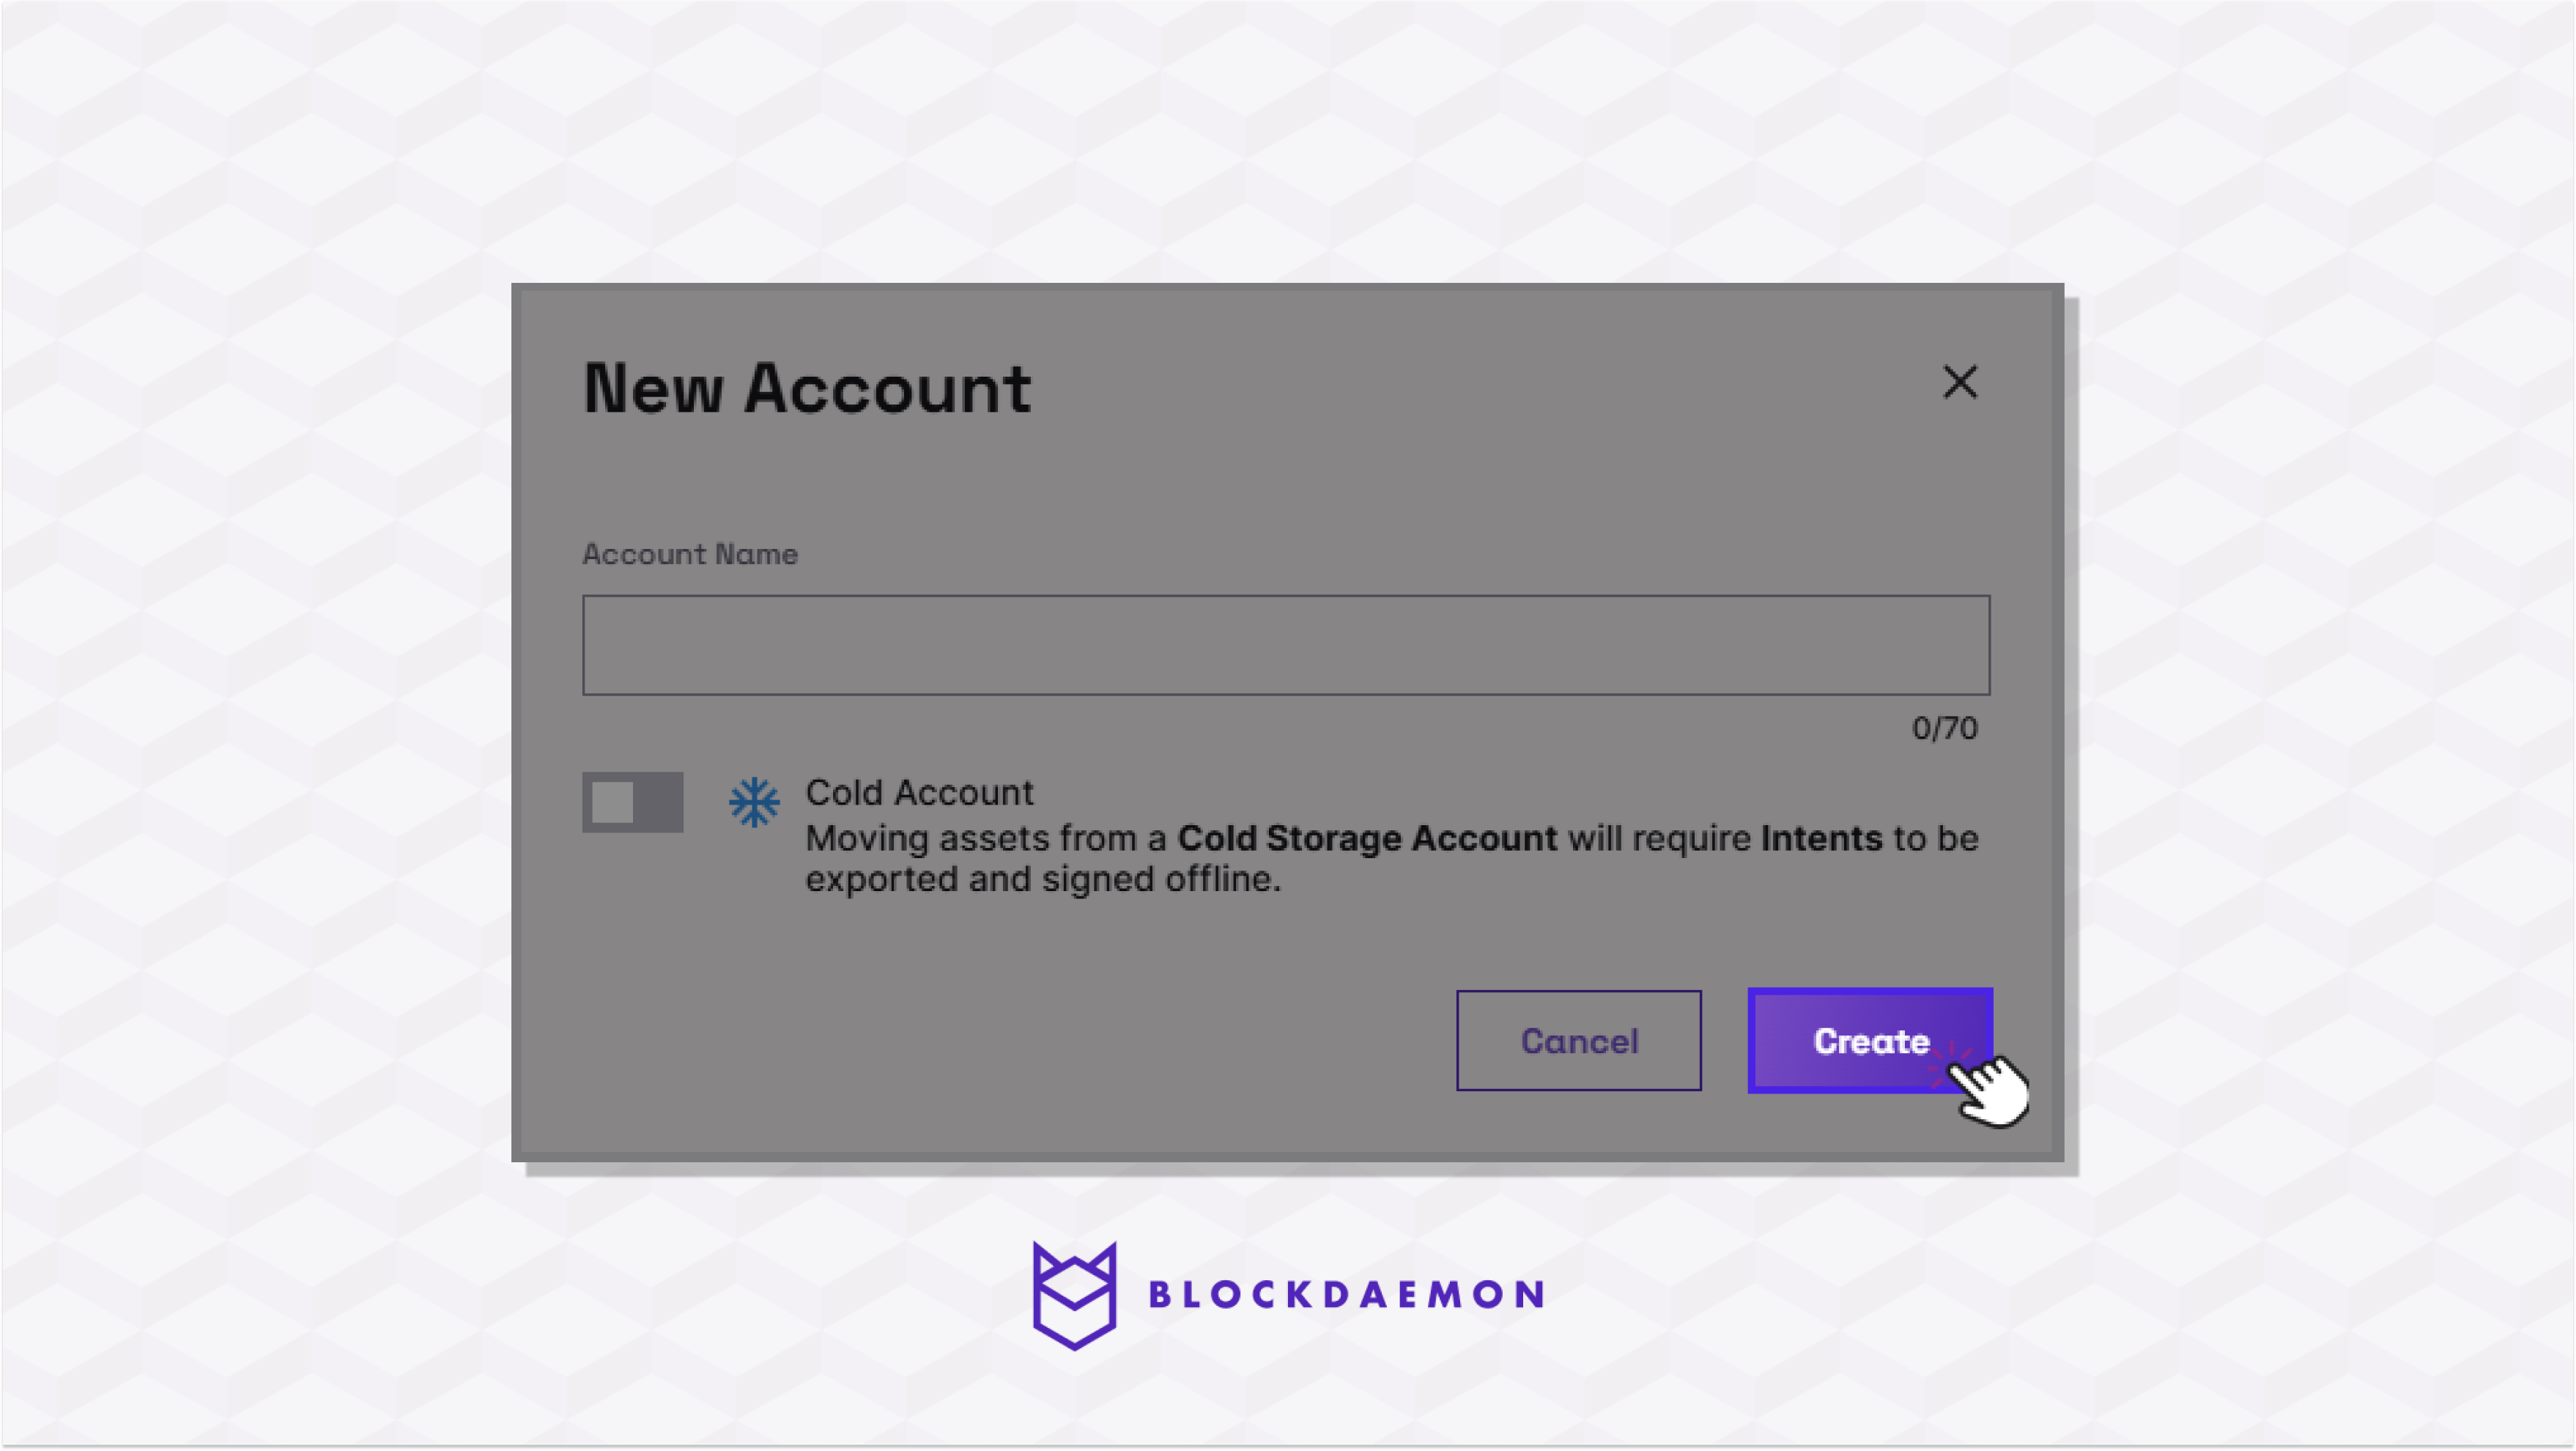
- Click Create.
Note:The name has to be unique.
- The account is added to the wallet's list of accounts and labeled "Creation in Progress". Below is a comprehensive overview of how to create an account:
- When the account is created, you will receive a notification in the web wallet telling you the account is ready. The “Creation in Progress” label disappears.
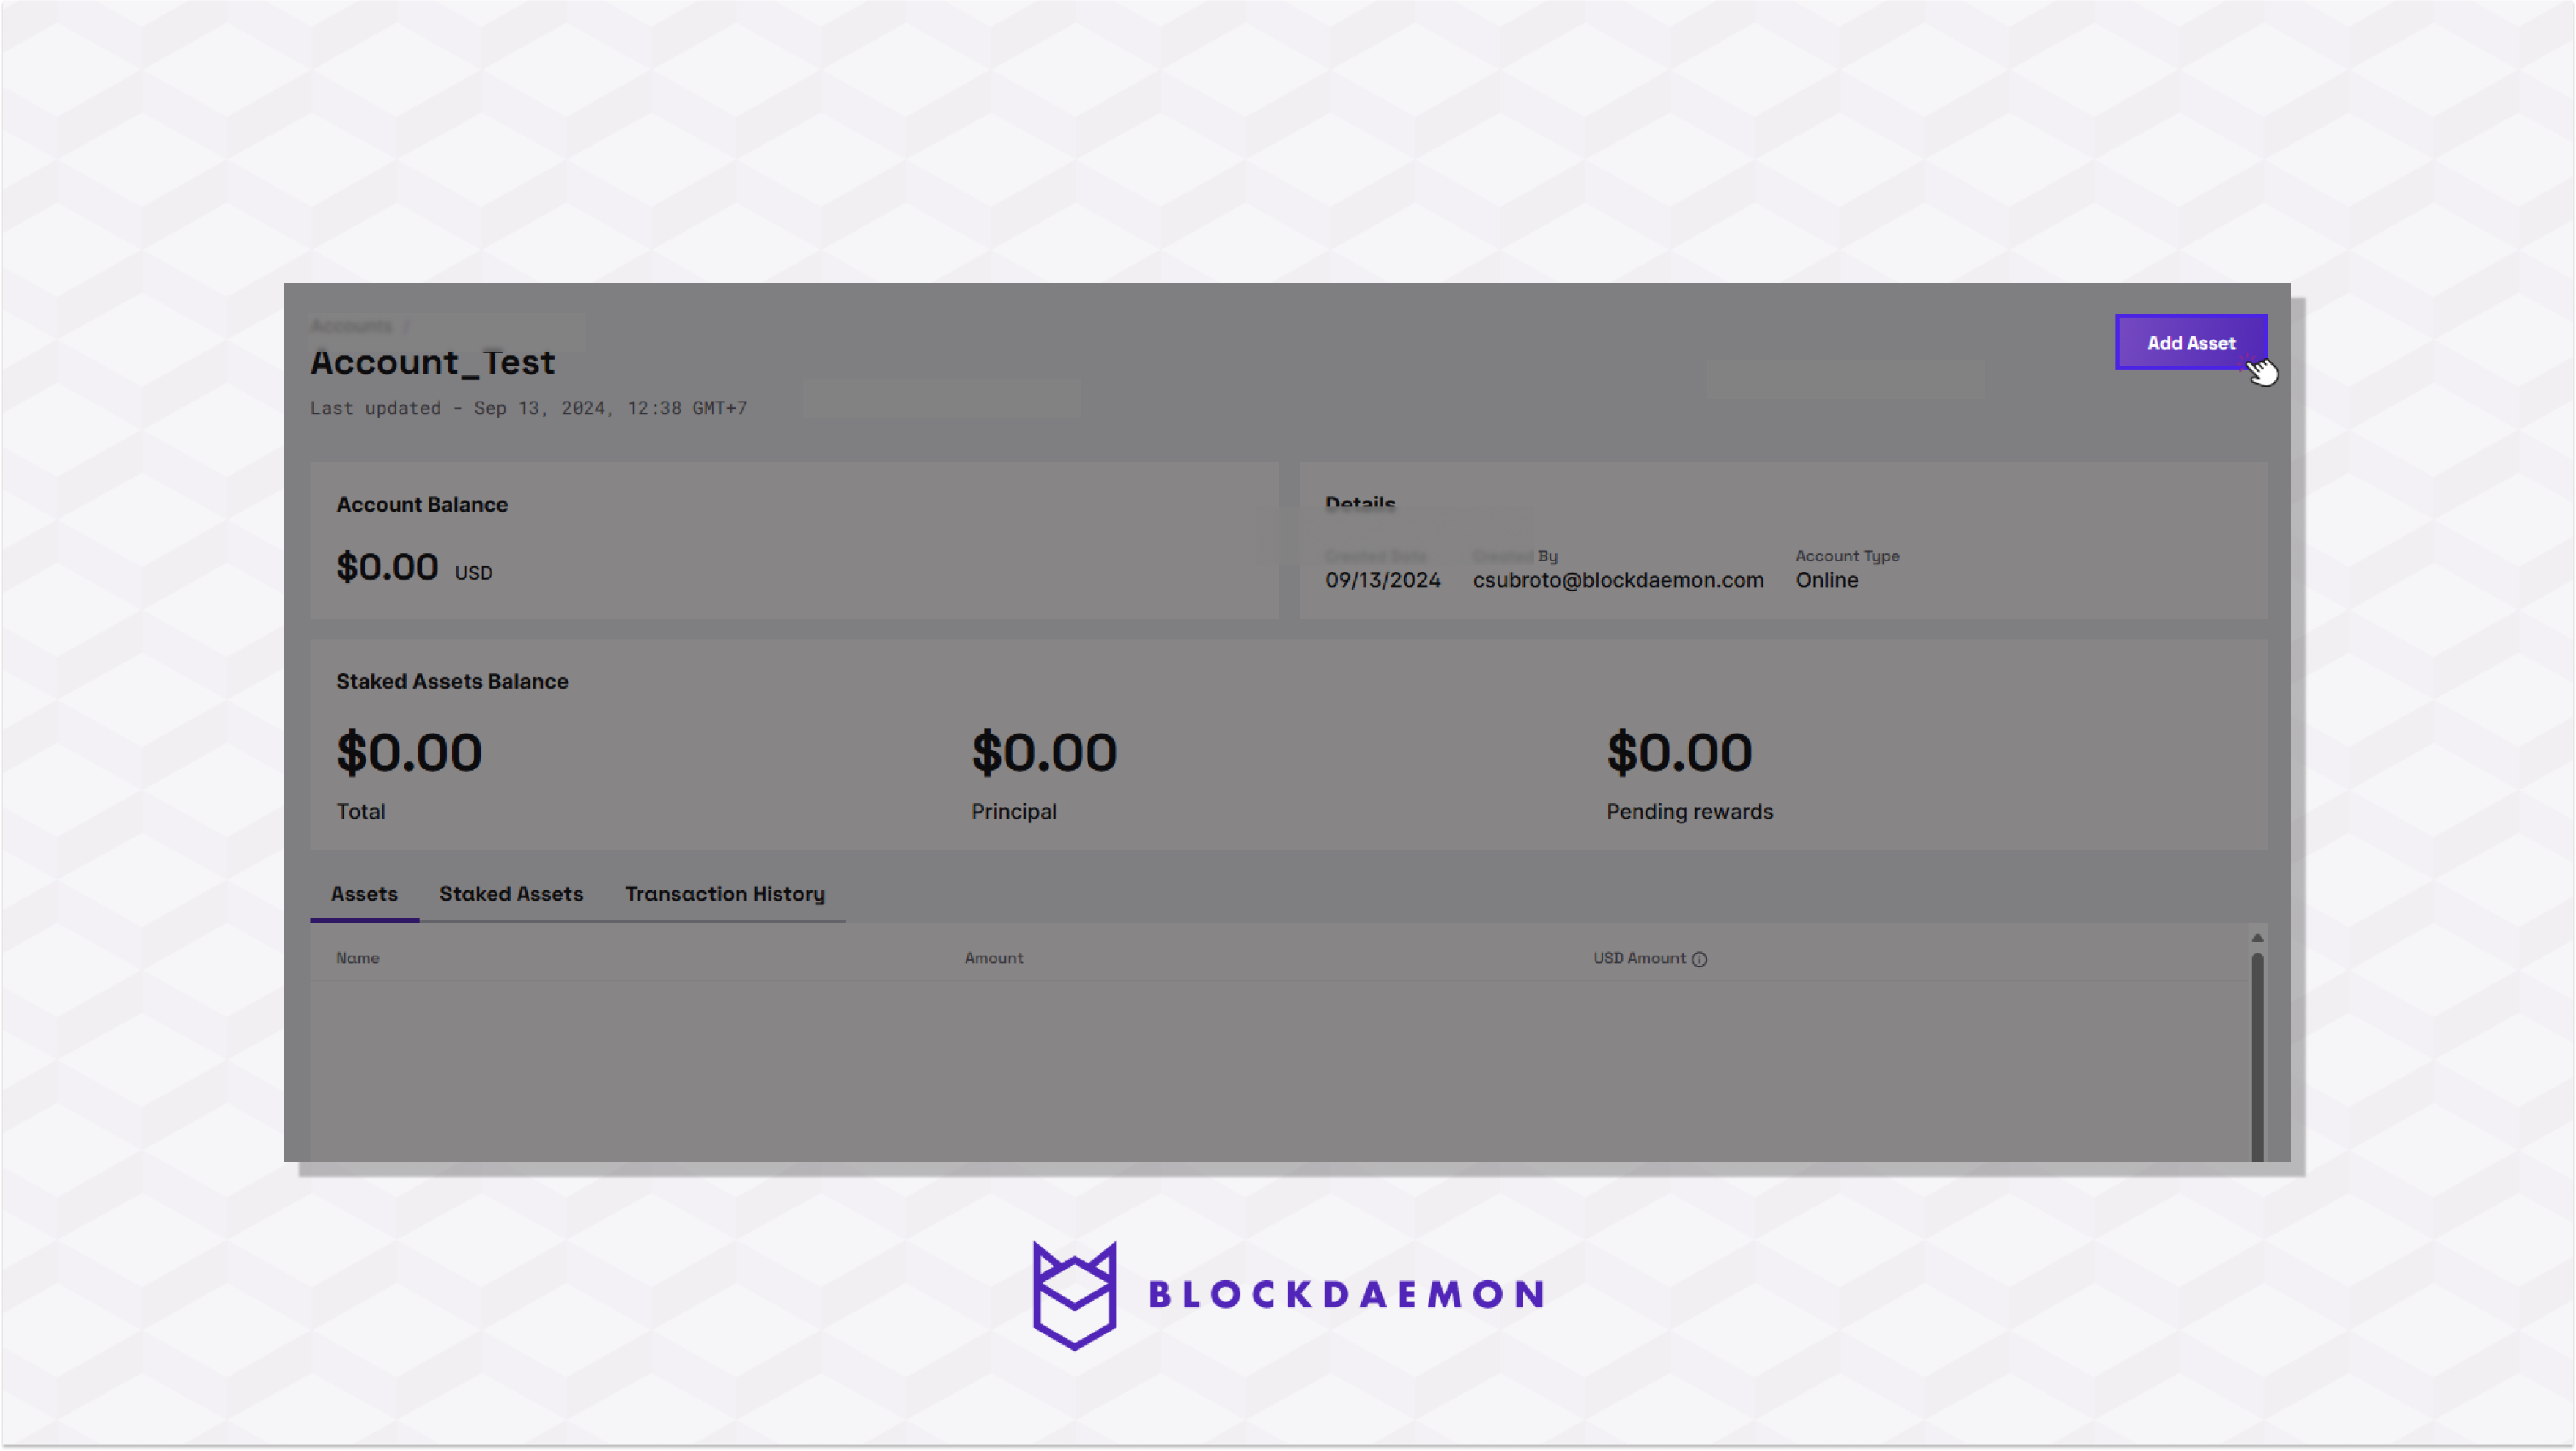
- Click on the newly created account to go to Account details.
- Click the Add Asset button.
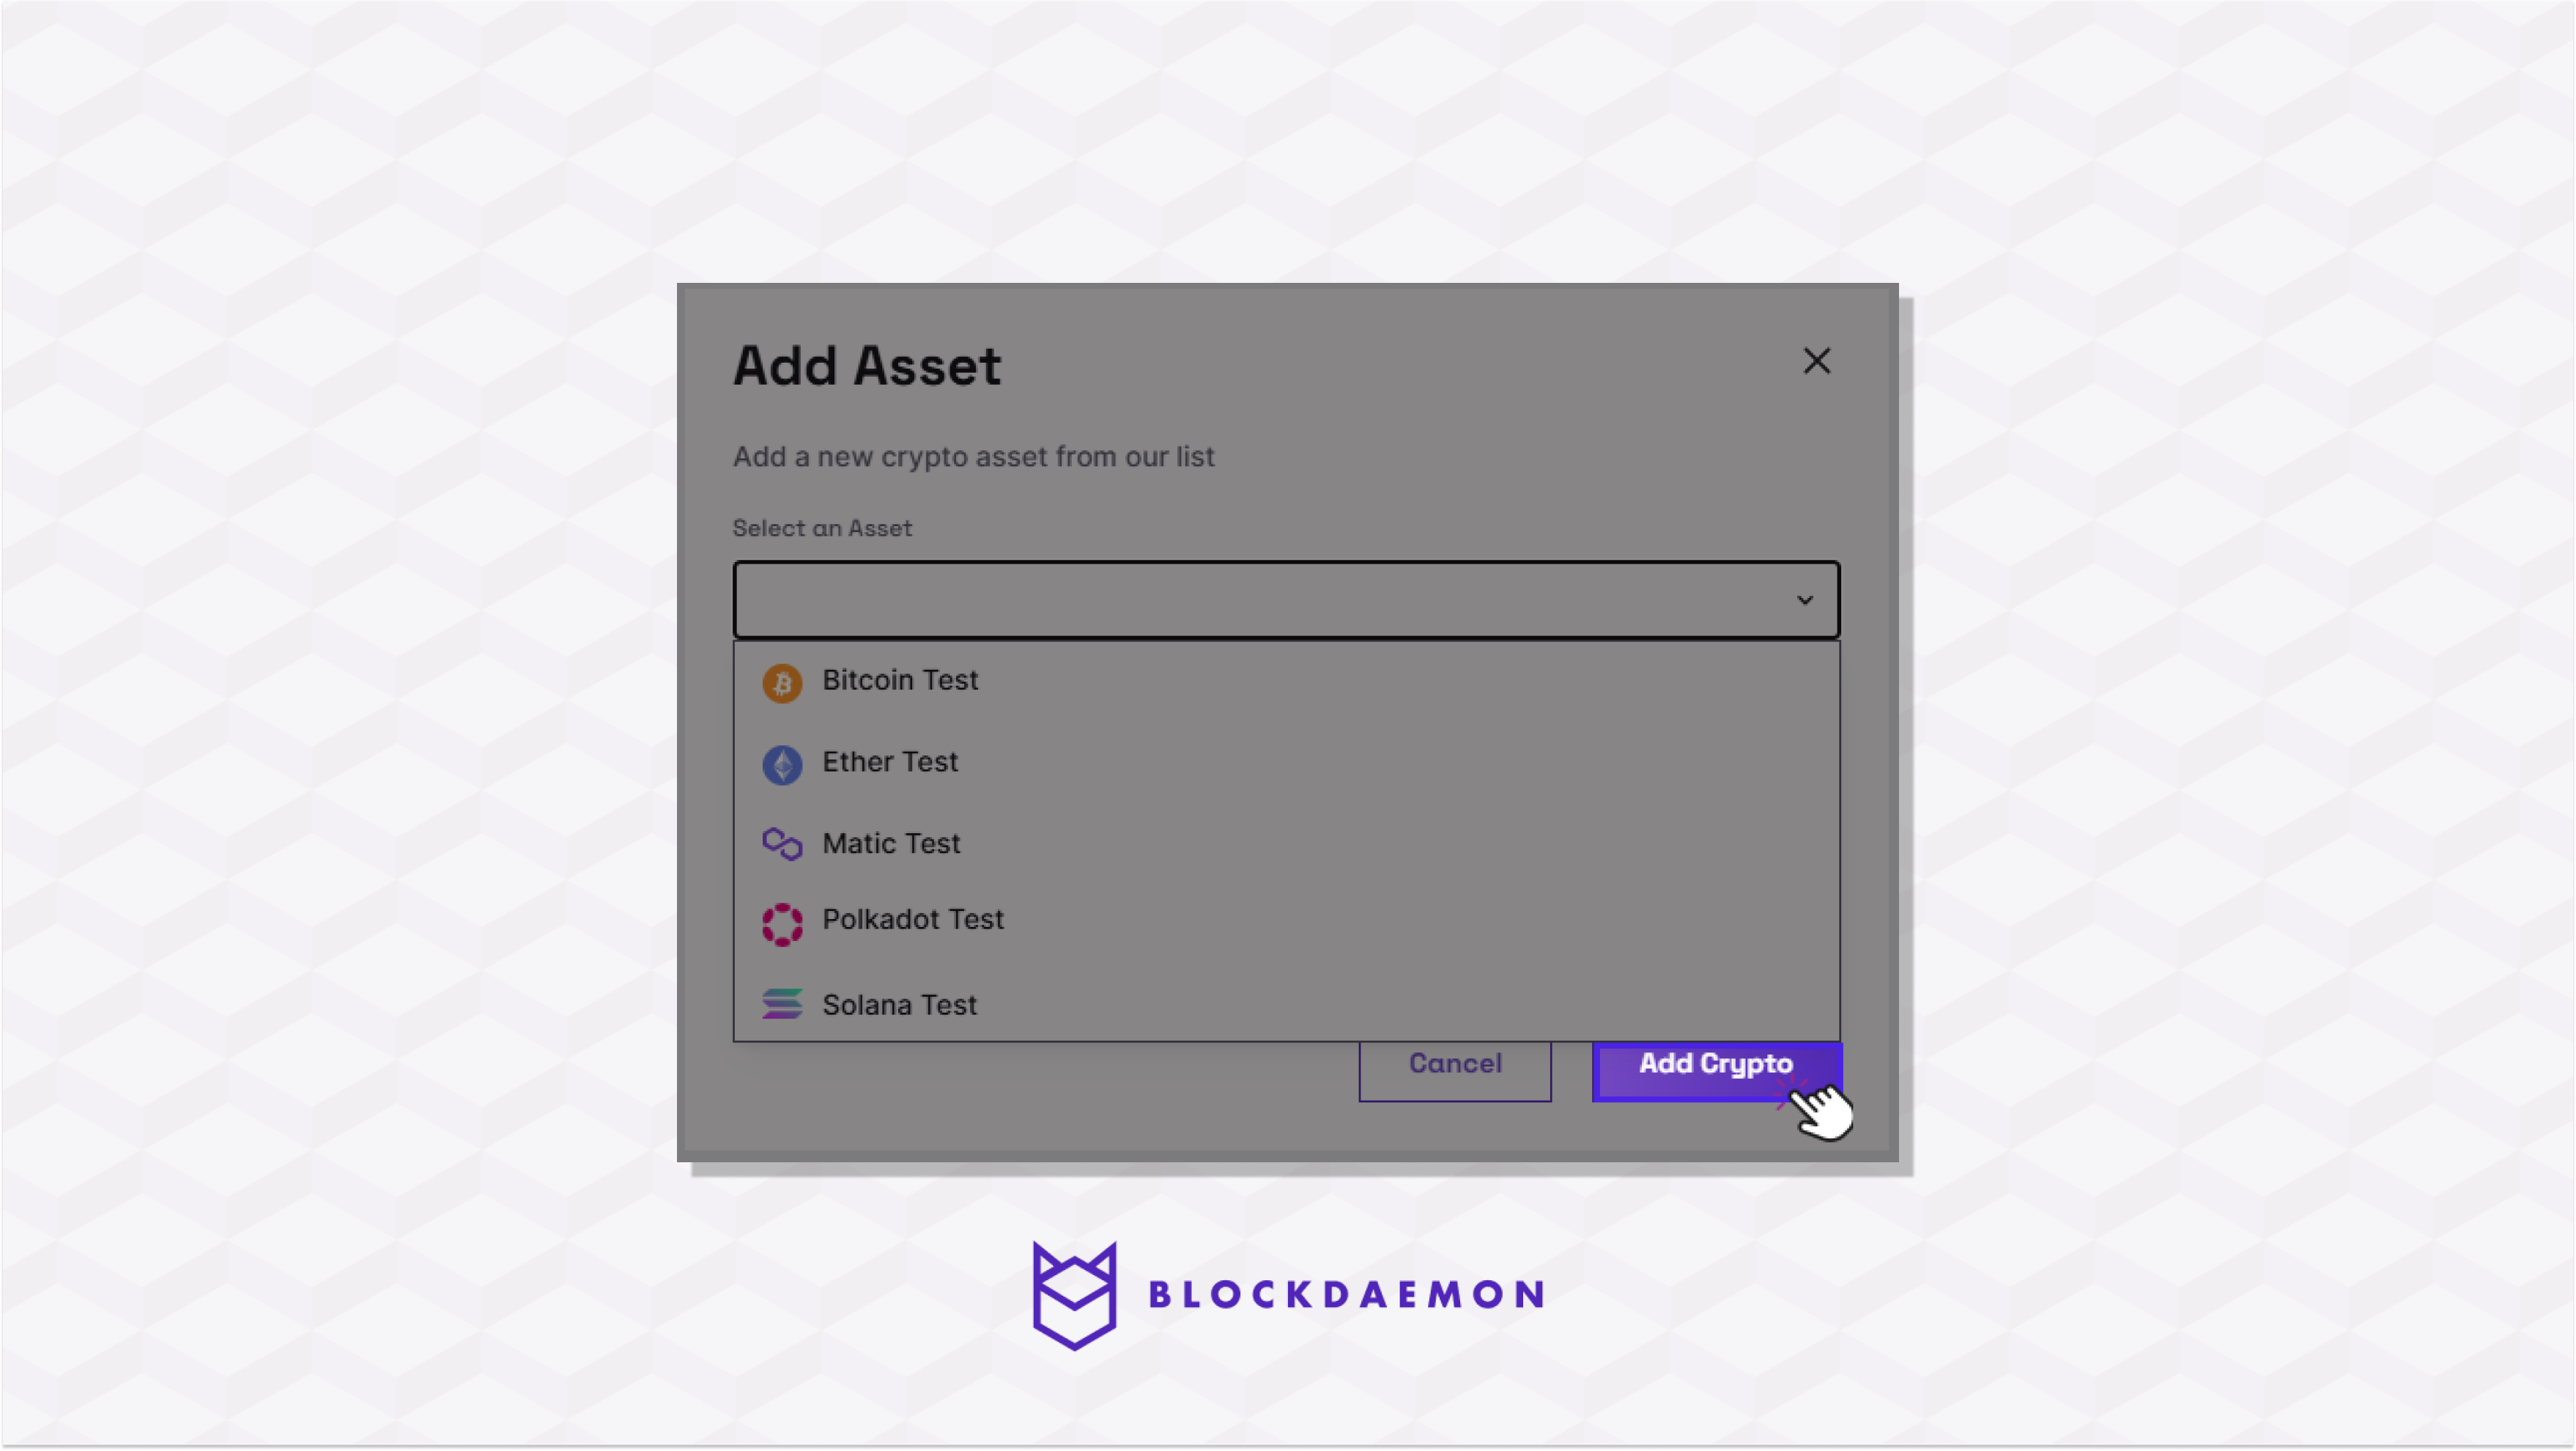
- Select the asset from which you want to receive funds.
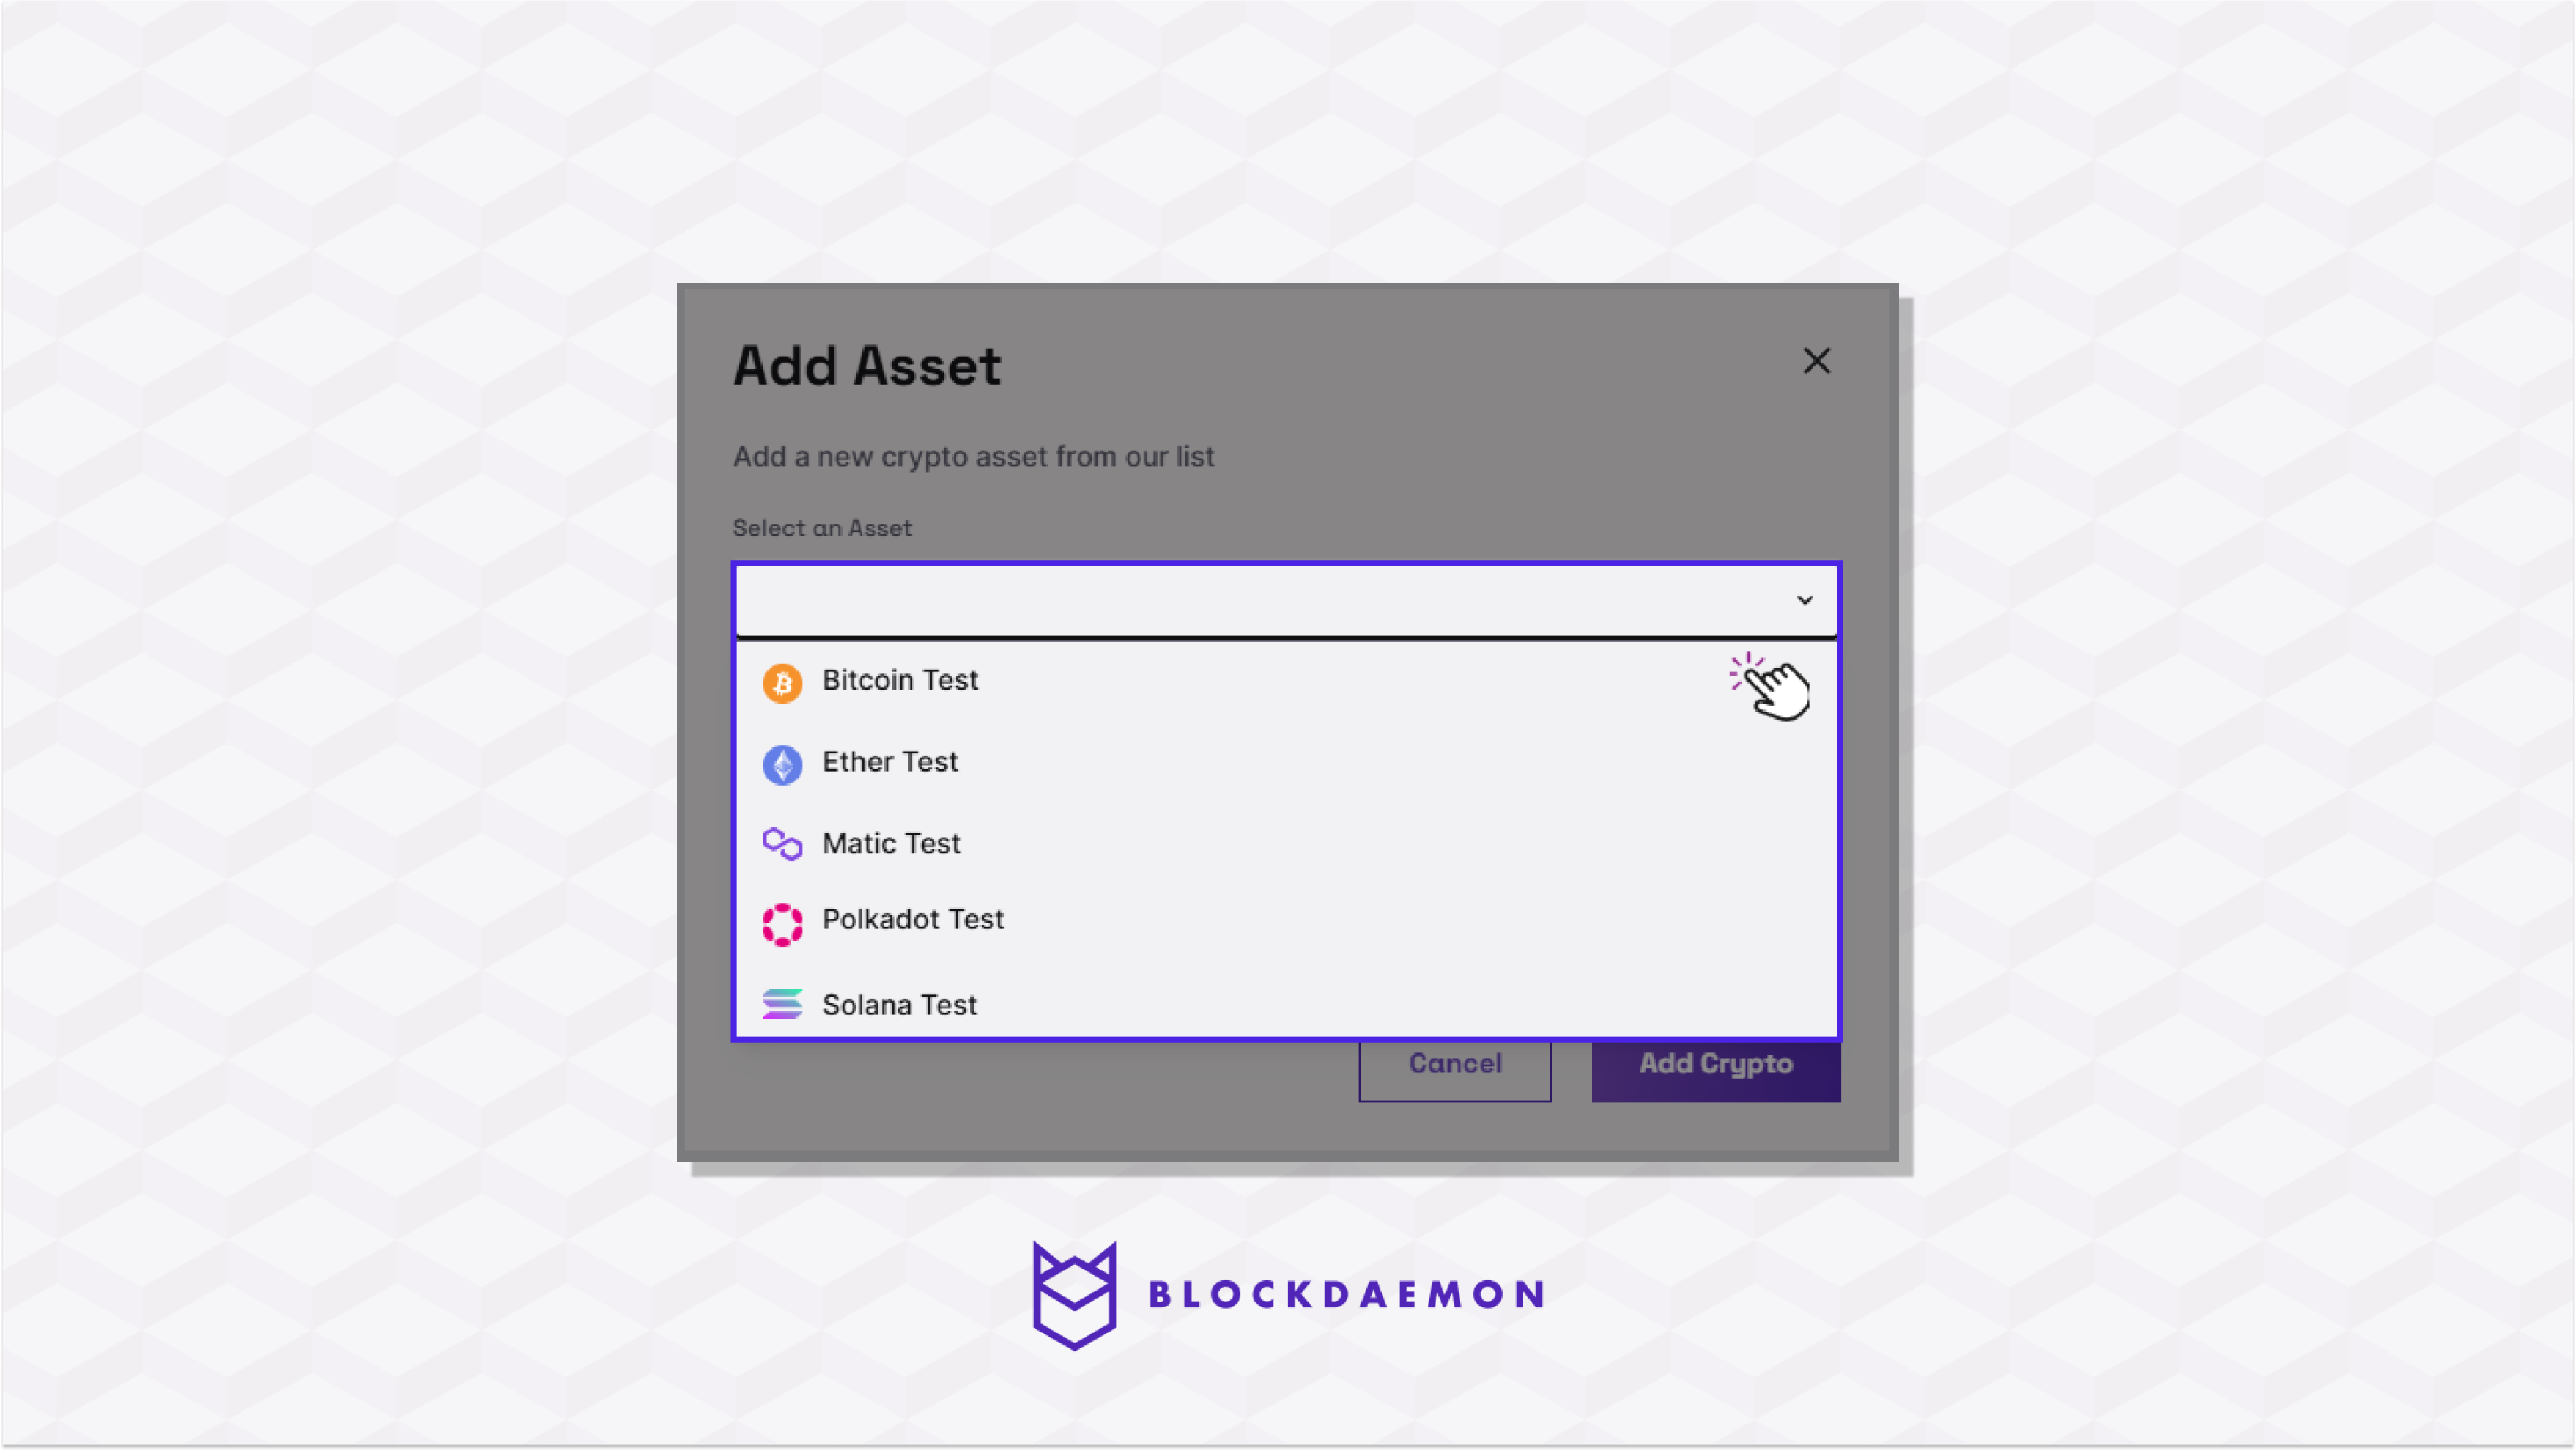
- Click Add Crypto. The asset will be included in the account, and a unique address will be generated for it.
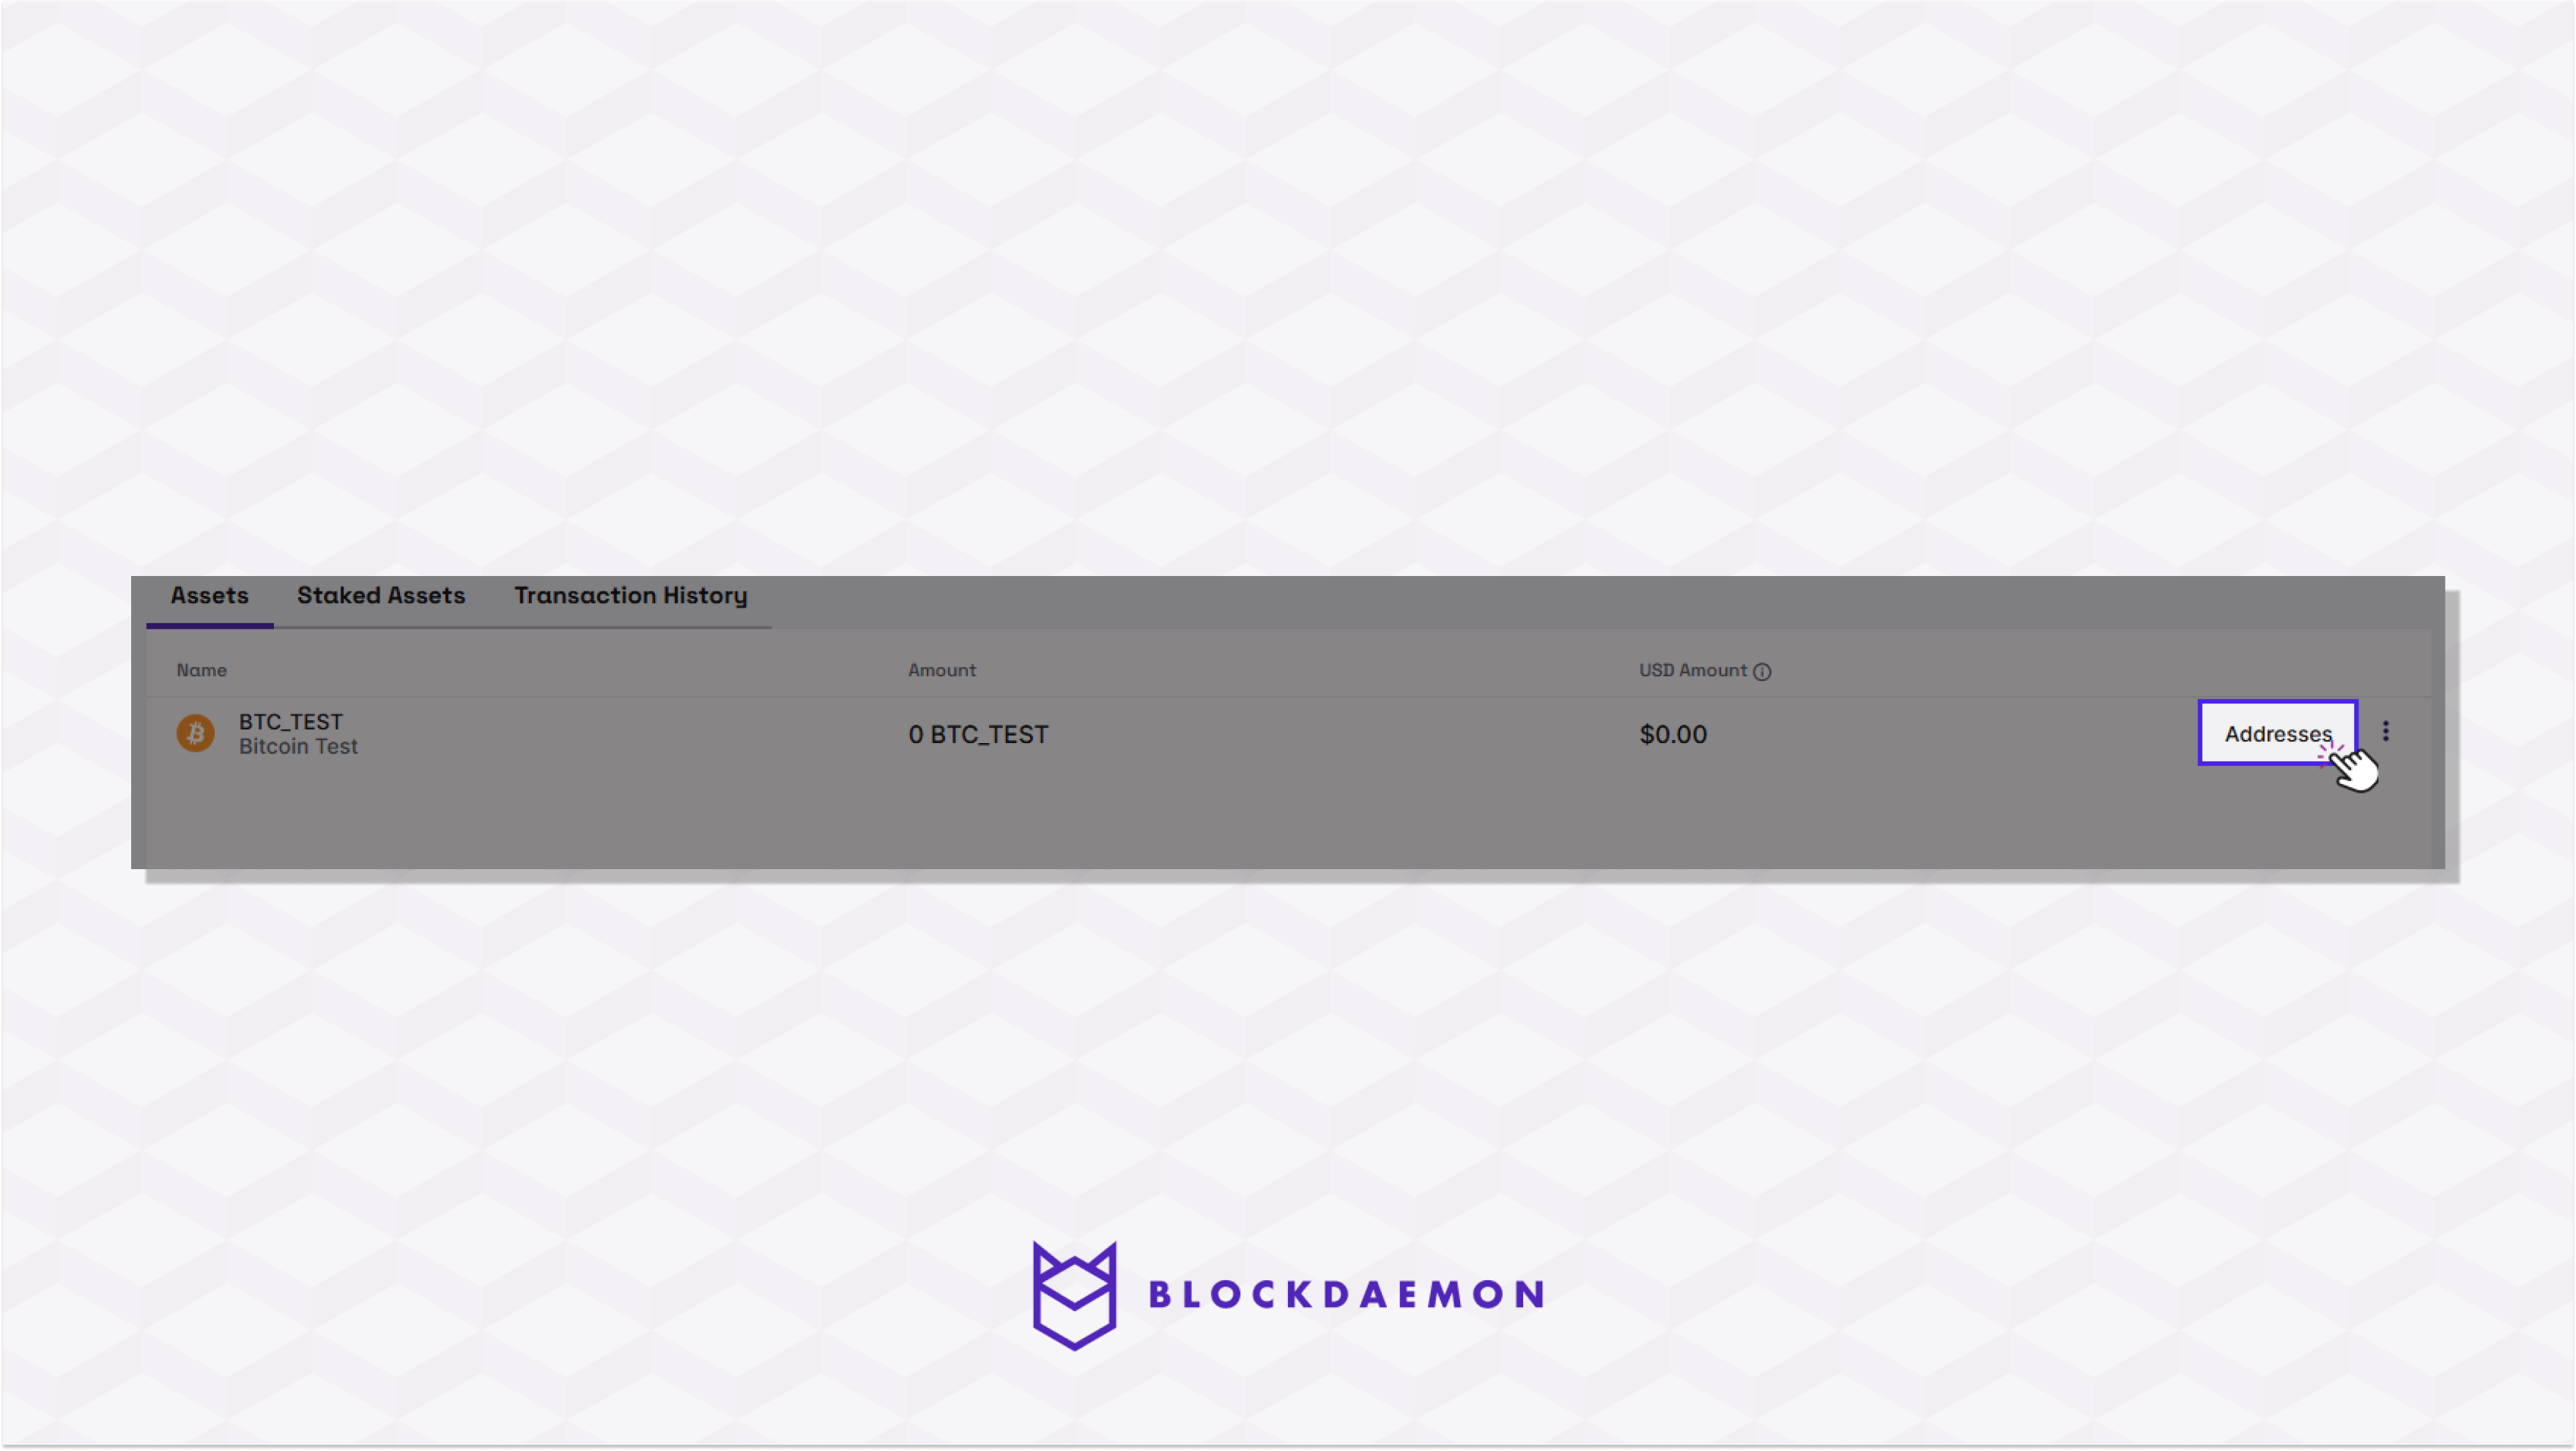
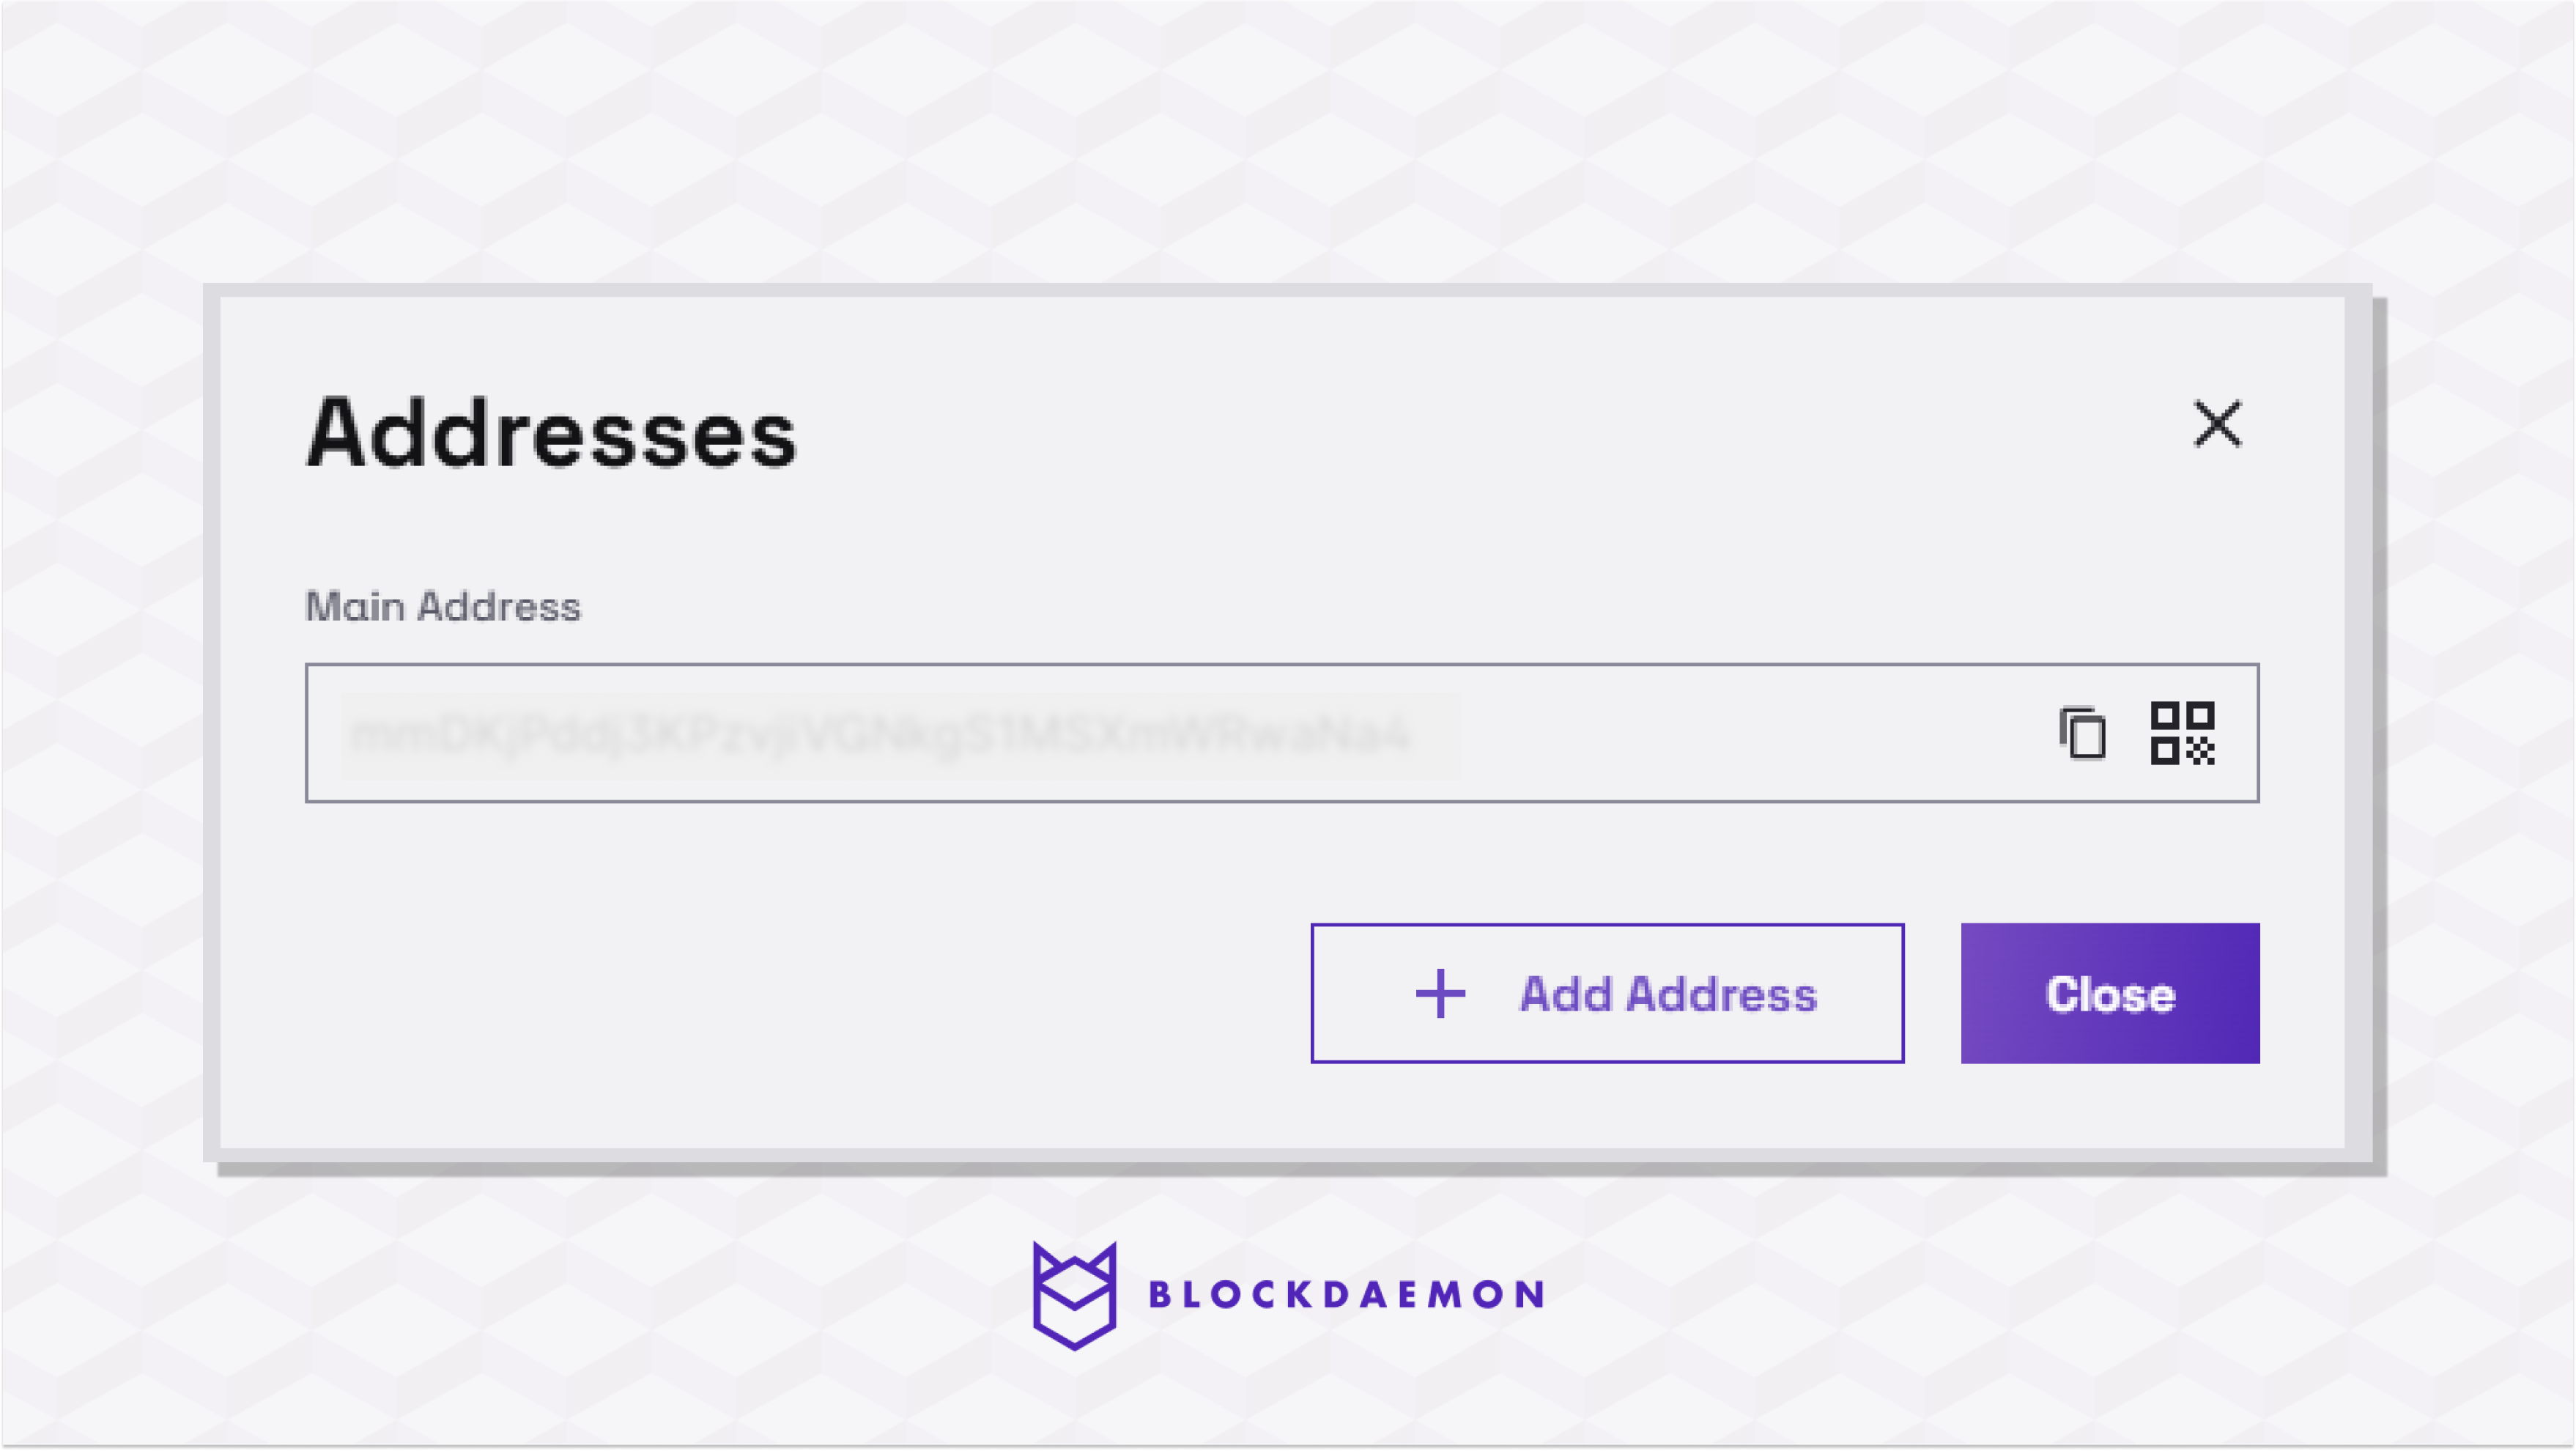
- Go to the Addresses submenu to see and copy the address.
Note:By default, if no configuration is specified, Bitcoin addresses are of the
P2PKH(legacy) type. However, we also supportP2SH-P2WPKHtype address for Bitcoin.
- You can transfer funds from this address to the recently created account using either another address or a testnet faucet.
- Click the Transaction History menu to track the incoming transaction. The transaction will start appearing when it is confirmed on the blockchain.
- When the transaction is confirmed on the blockchain, the account balance is updated to reflect how much has been received.
🗣️We Are Here to Help!
Please contact us via email or support chat if you encounter an issue, bug, or need assistance. Don't forget to include any relevant details about the problem. To request a wallet form and Institutional Vault Approver form, please click here or contact our sales team.
Updated about 1 month ago