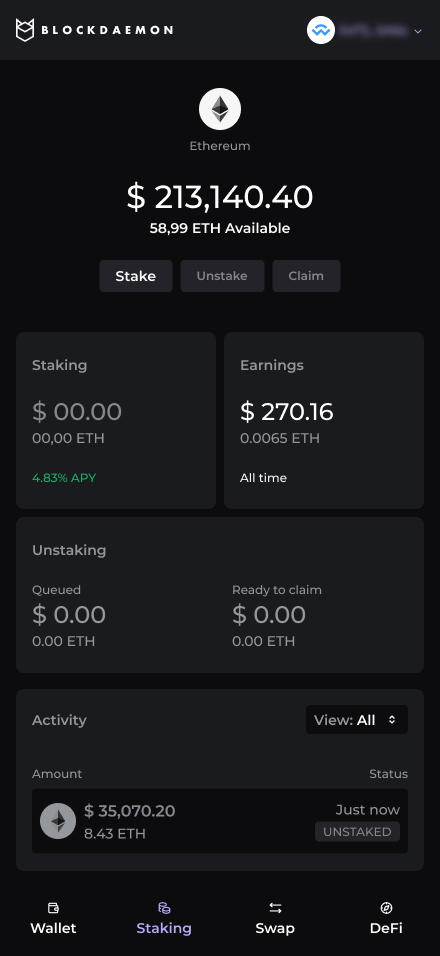
Ethereum: Claim
Claim ETH with the Earn Widget
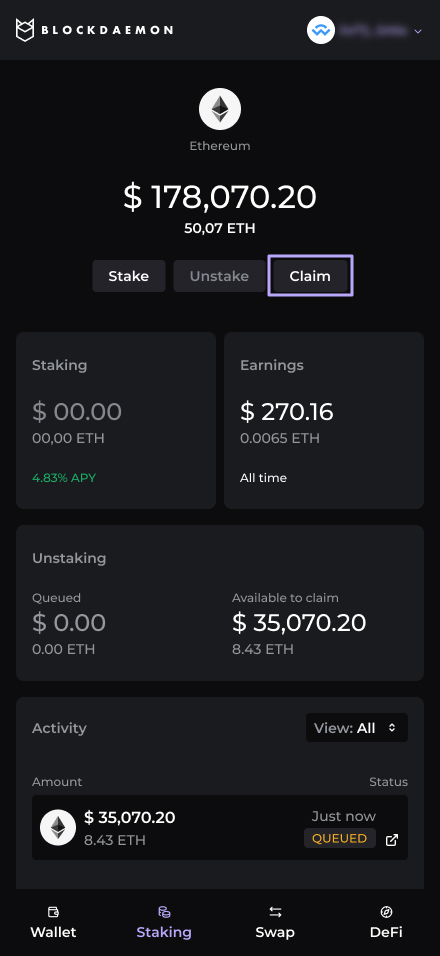
The Ethereum Claim Flow lets users move ETH from Ready to claim back into their original wallet address. Claiming is always the second step in a two-step sequence: Unstake → Claim.
High-Level Steps
Follow these steps to claim your ETH with the Earn Widget.
- Open the Claim screen
- Review vault and summary
- Submit claim transaction
- Transaction processing
- Review post-claim state
Detailed step-by-step information is available below.
Step-by-Step Flow
-
Open Claim
The user returns to the widget after their previously unstaked ETH has finished queued.
- The widget shows an account with status Ready to claim and an active Claim CTA.
-
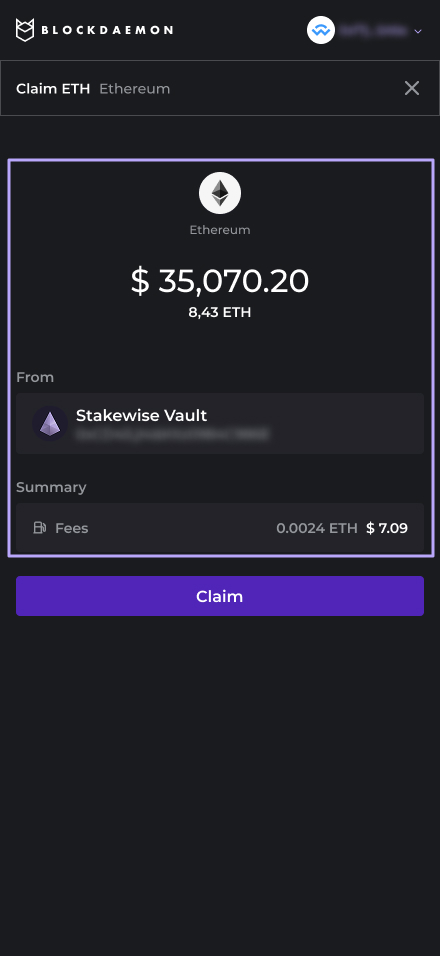
Review vault and summary
Summary displays:
- The amount to claim.
- The vault.
- Fees.
-
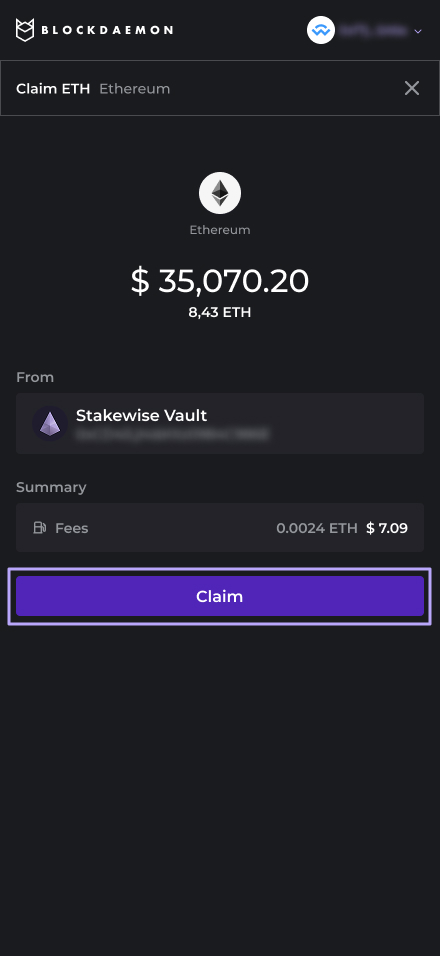
Submit claim transaction
The user clicks Claim.
- The widget triggers the claim transaction in the user’s wallet.
- The user reviews and approves the transaction, paying the network fee.
-
Transaction processing
The widget shows a brief processing or pending state while the network finalizes the transaction.
-
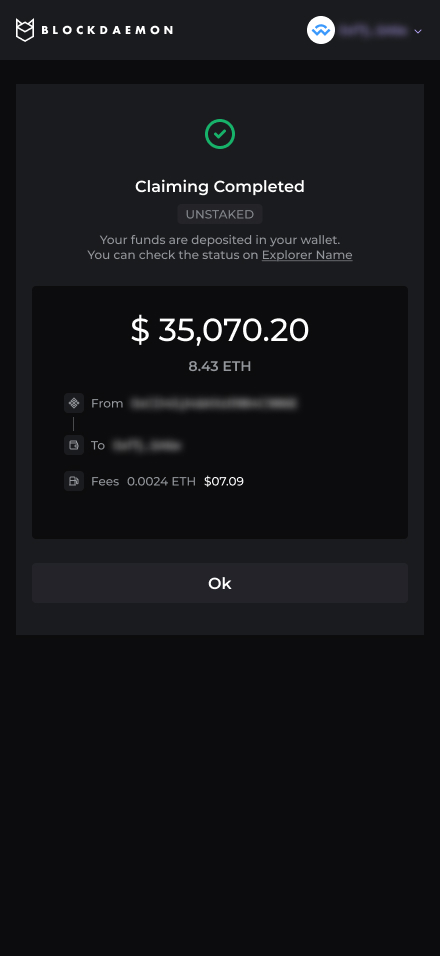
Post-claim state
The stake account is effectively emptied (and no longer shown as ready to claim).
The main widget view updates to show:
- Increased wallet Available balance.
- Reduced or removed amount in “Unstaking / Ready to claim” sections.
The user can now:
- Restake using the Stake flow, or
- Use or swap funds as usual directly from their Ethereum wallet.
👋 Need Help?
Contact us through email or our support page for any issues, bugs, or assistance you may need.
Updated 5 months ago